


7 Basic Makeup Steps for Beginners: Super Easy
New to makeup and don’t know where to start? This article will show you 7 basic makeup steps, super easy, super fast – helping you confidently look beautiful right from the first time!
Are you new to makeup and feel a bit overwhelmed by the jungle of information, not knowing where to start? Do you want to look fresh and more confident every day but are afraid of complicated makeup steps, afraid of the initial cost or struggling to do it wrong?
Don't worry, this article is a lifesaver for you! Celidior will hold your hand and guide you through 7 basic makeup steps for beginners, super simple, quick, using the least amount of tools possible, ensuring you confidently do light makeup successfully the first time.
What is "Dewy Makeup"?
Simply put, dewy makeup is a natural, light makeup style that only focuses on highlighting the natural beauty of your face. A thin layer of foundation, a little rosy cheeks, naturally colored lips... all create a fresh, radiant look without looking old or too much. This is the no makeup makeup style that is very popular.


Why Should Newbies Start With "Light Makeup"?
If you are just starting out with makeup and looking for a simple yet effective style, this is the perfect starting point for you:
- Quick and easy: No need for fancy techniques, just a few basic steps.
- Super economical: No need to invest in a huge makeup kit, just a few basic items.
- Get used to it slowly: Helps you gradually get used to using cosmetics without being shocked.
- Instantly increase confidence: A little change is enough to make you feel more beautiful and energetic.
- Suitable for all situations: This natural makeup style for beginners to school/work is extremely reasonable, gentle and polite.

What Is Dewy Makeup That Everyone Loves?
Basic Makeup Items for Beginners
Before we get started, let's take a look at the basic tools you need in your makeup kit.
- Sunscreen: Prioritize the type with a light tone-up.
- Concealer: Choose the type that matches your skin tone or is 1 tone lighter.
- Powder: Powder or pressed powder, colorless or a light color that matches your skin tone.
- Eyebrow pencil: Choose the type with a brush tip for easy blending. The color should be similar or 1 tone darker than your hair color.
- Eyelash curler & Mascara: Choose mascara that curls and lengthens lashes, no need to be too thick.
- Blush: Cream or powder, natural colors like baby pink, peach orange. Cream blush is usually easier to blend for beginners.
- Lipstick: Choose MLBB colors like earthy pink, earthy orange, earthy red. You can also use colored lip balm, which is very convenient.
- Makeup sponge: Makes blending concealer and cream blush easier.
With just this basic makeup kit, you can completely start your beauty journey.
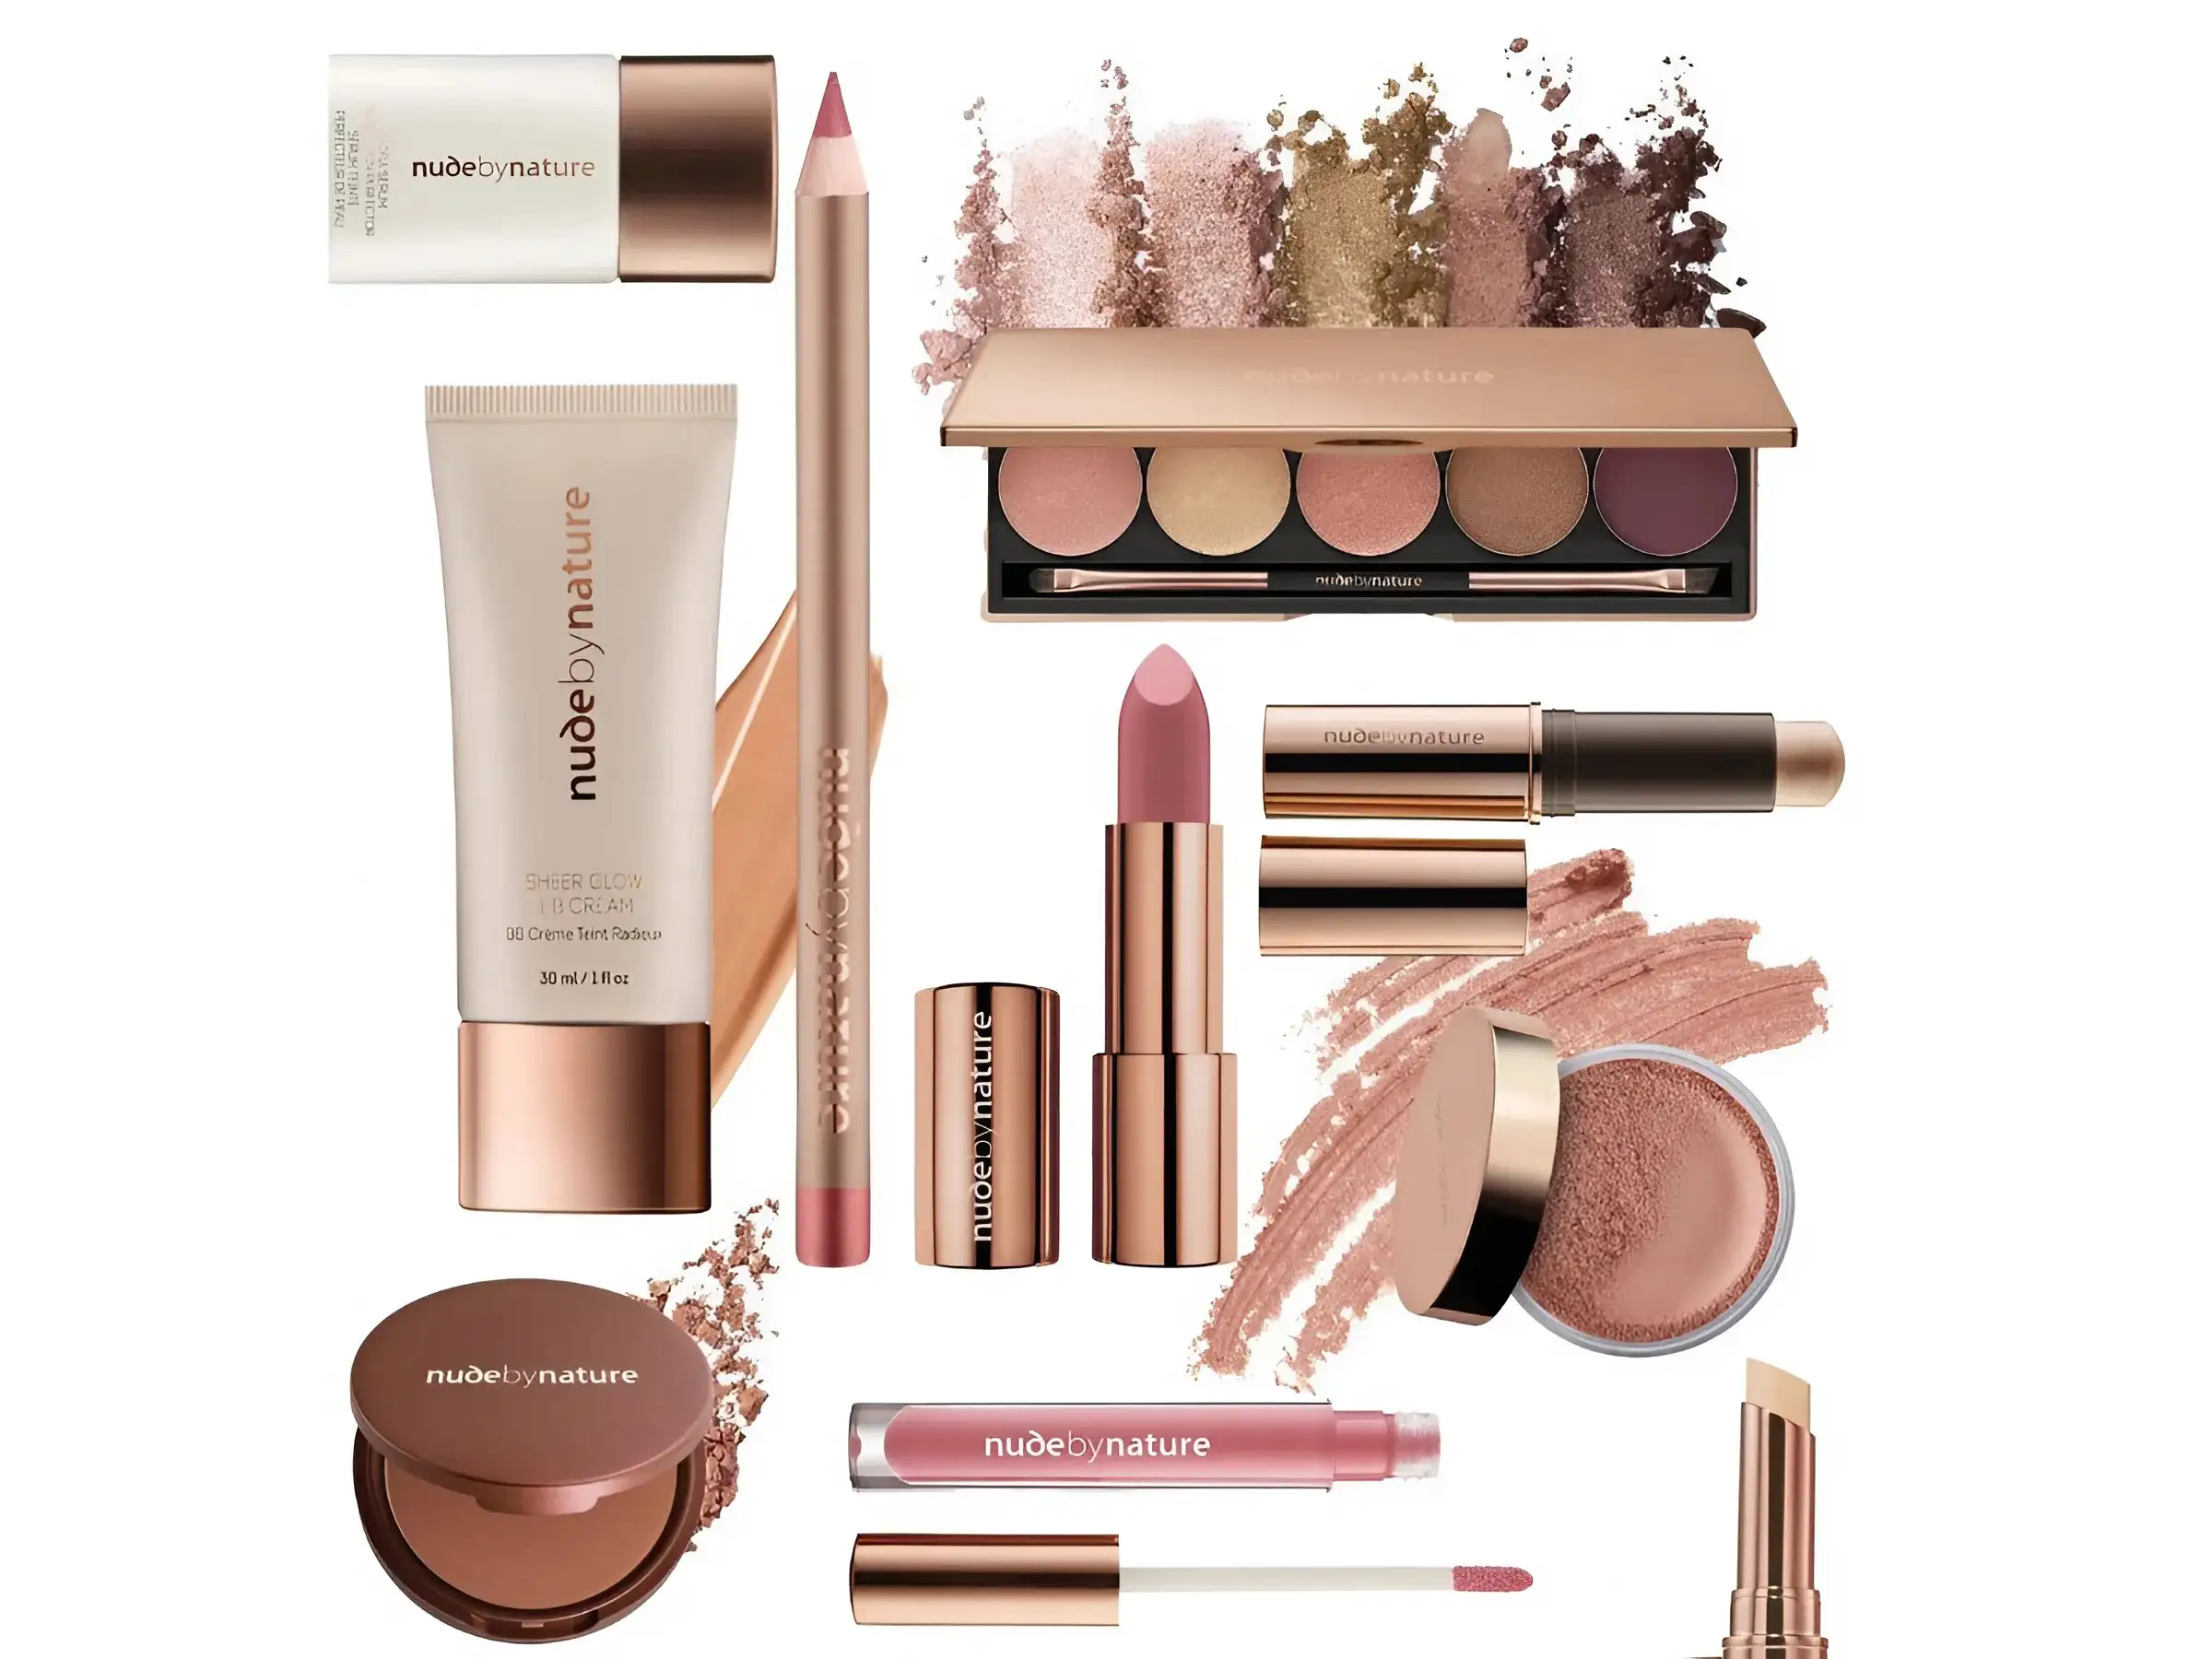
Basic Makeup Items That Newbies Must Have
Skin Care Steps Before Makeup
Never skip the skin care step before makeup, if the skin is not moist enough, anything you put on will easily become cakey, looking very unsightly. Skincare before makeup does not need to be complicated, just:
- Wash your face: Remove dirt and excess oil.
- Toner/Hydrating serum: If your skin is too dry, you can use this step.
- Sunscreen: This is an indispensable step, both protecting the skin from UV rays and creating a light base. Remember to apply it to both the face and neck!
Small tip: Try using a sunscreen with a light tone-up ability. It helps protect the skin, evens out skin tone instantly, and makes the skin a little brighter. For those with less blemishes, this step can replace both foundation or cushion, making the foundation thinner and lighter, saving a lot of time and money!
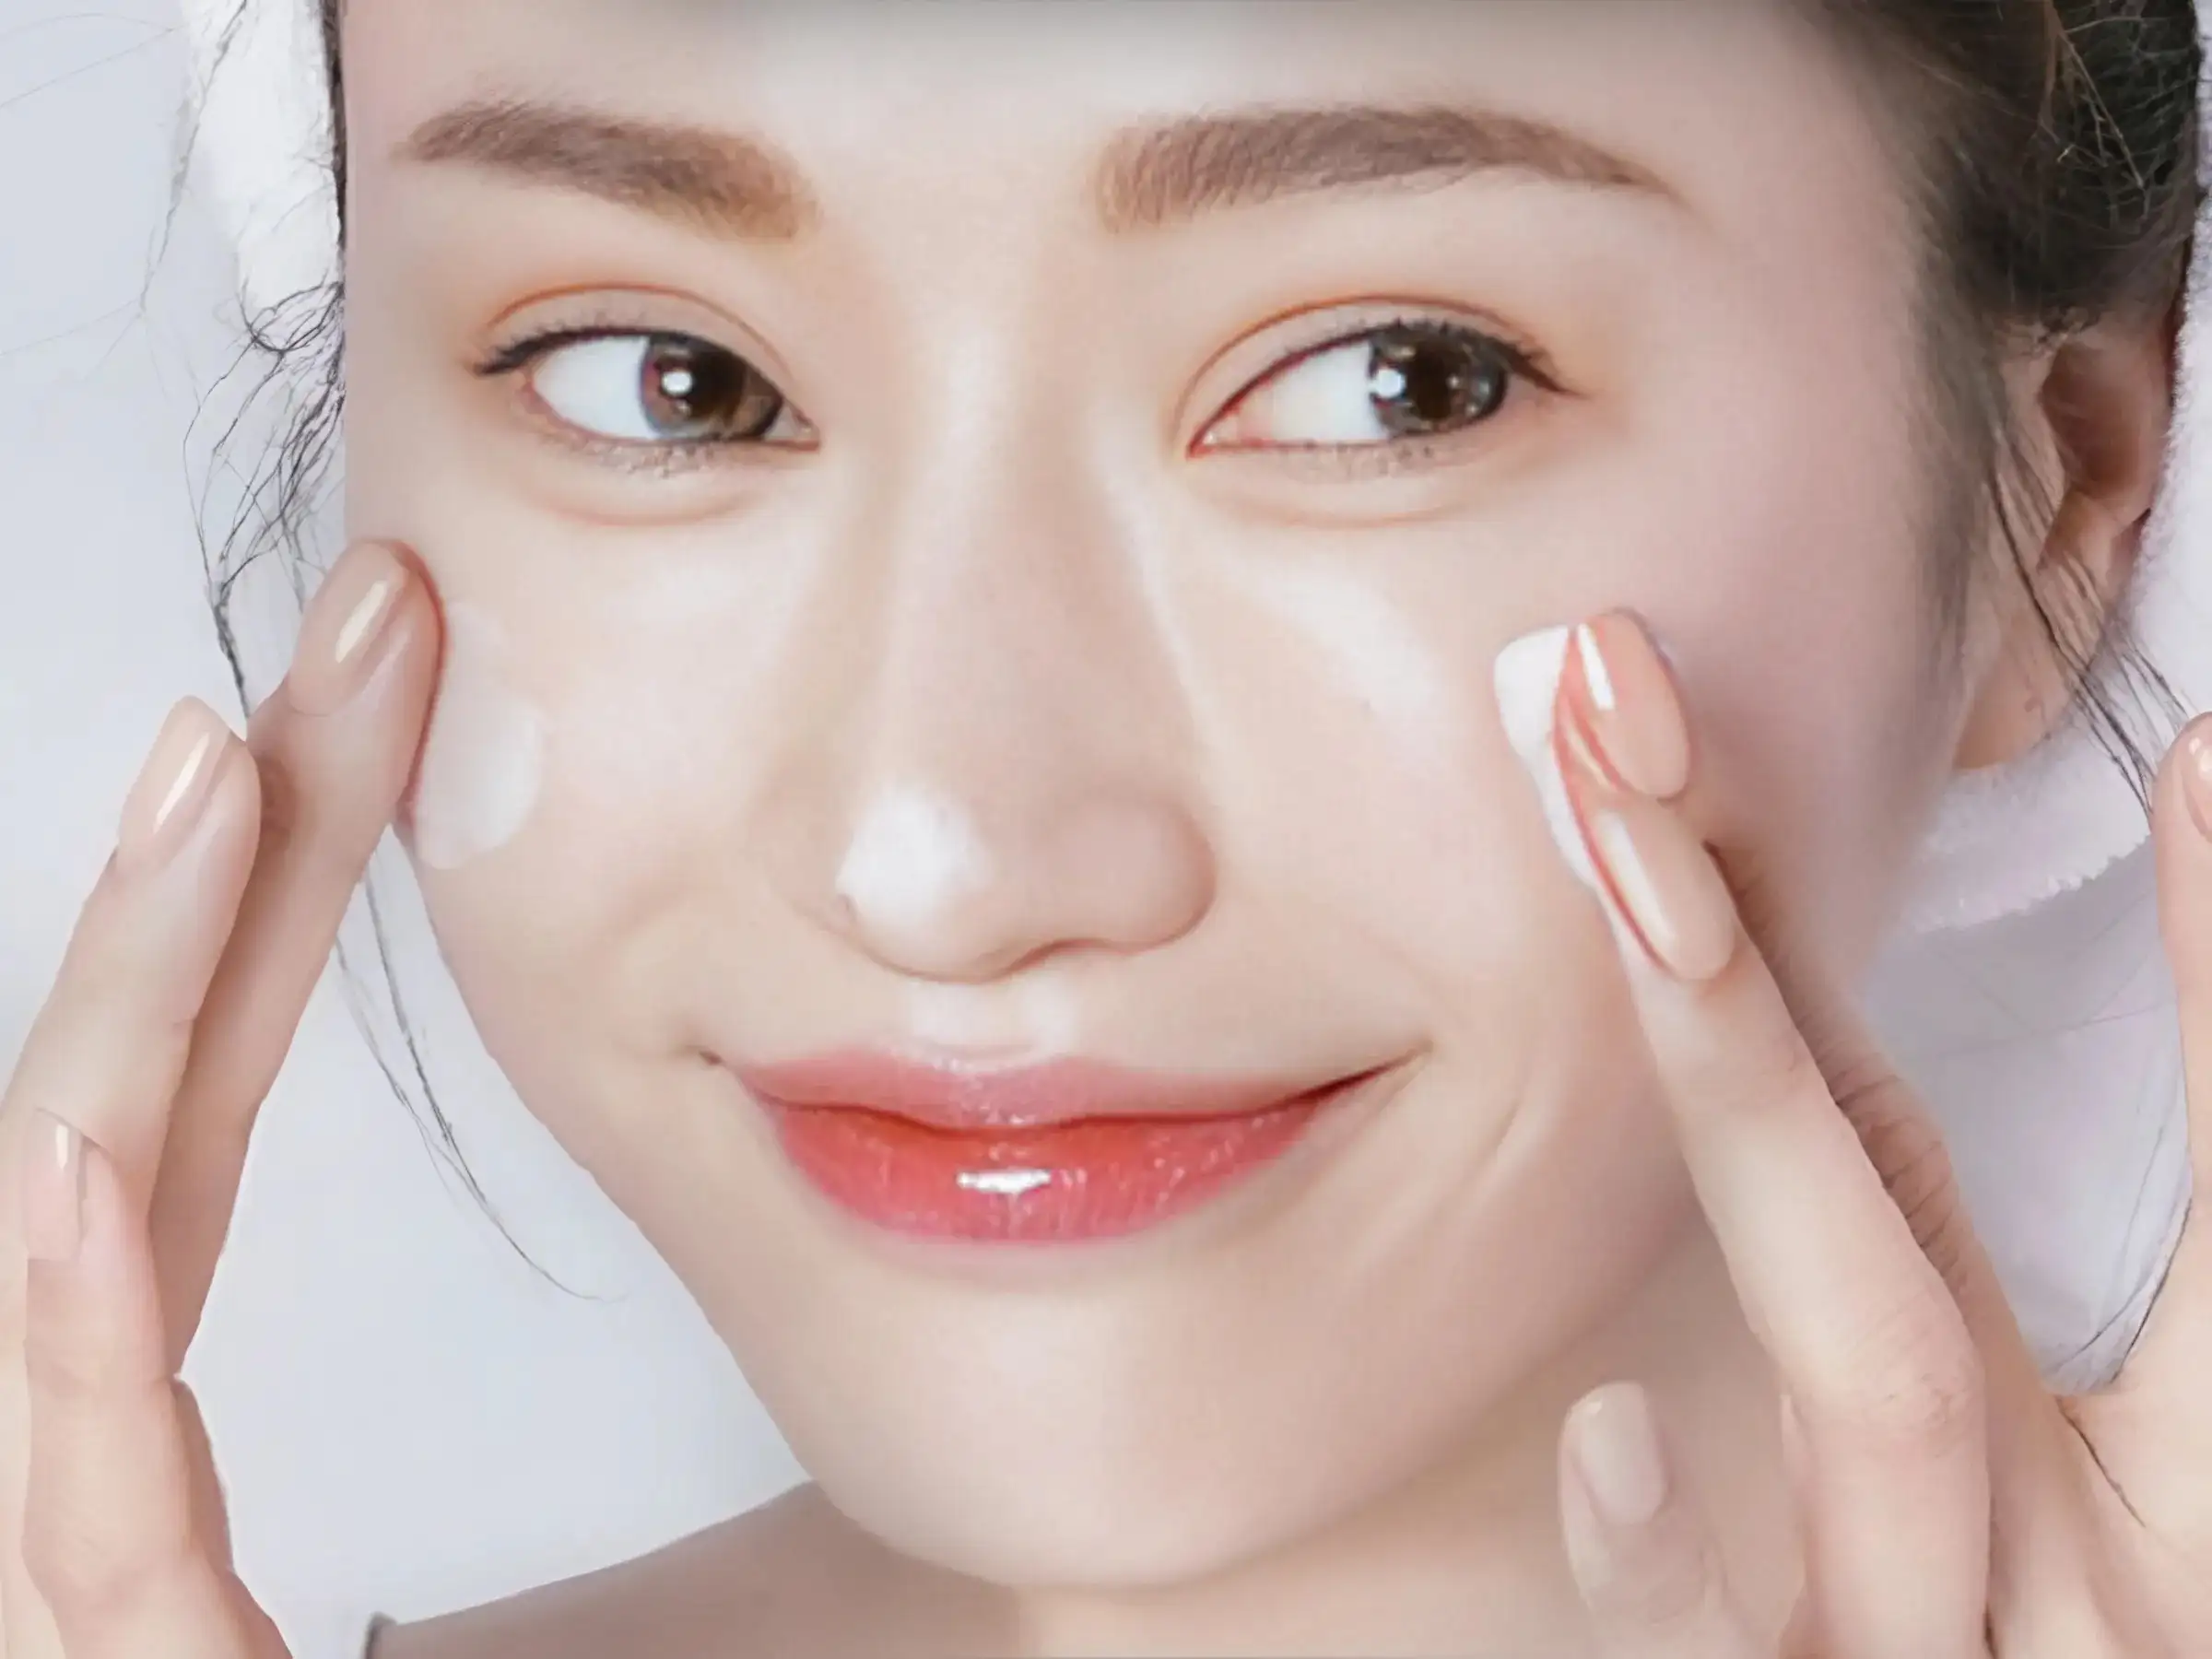
Face Preparation - Quick and Easy Skincare Before Makeup
7-Step Quick Makeup Checklist for Beginners
I will guide you through the steps of applying makeup in a very simple and correct order. I guarantee you will be able to do it right away after watching. Let's start this basic makeup routine!
Step 1: Concealer
This step will help to remove uninvited guests such as dark circles, acne scars or uneven skin tone. The way to make concealer is very simple:
- Apply a small amount of cream to the area to be covered.
- Use your ring finger or a damp makeup sponge.
- Gently dab the cream onto the skin. Do not rub or pull, as this will cause the cream to spread and not cover well. Just dab lightly until the cream is absorbed into the skin.
Tip: Choose a concealer that matches your skin tone, or is just one shade lighter. Choosing a shade that is too light will make the area appear as a strange white spot.
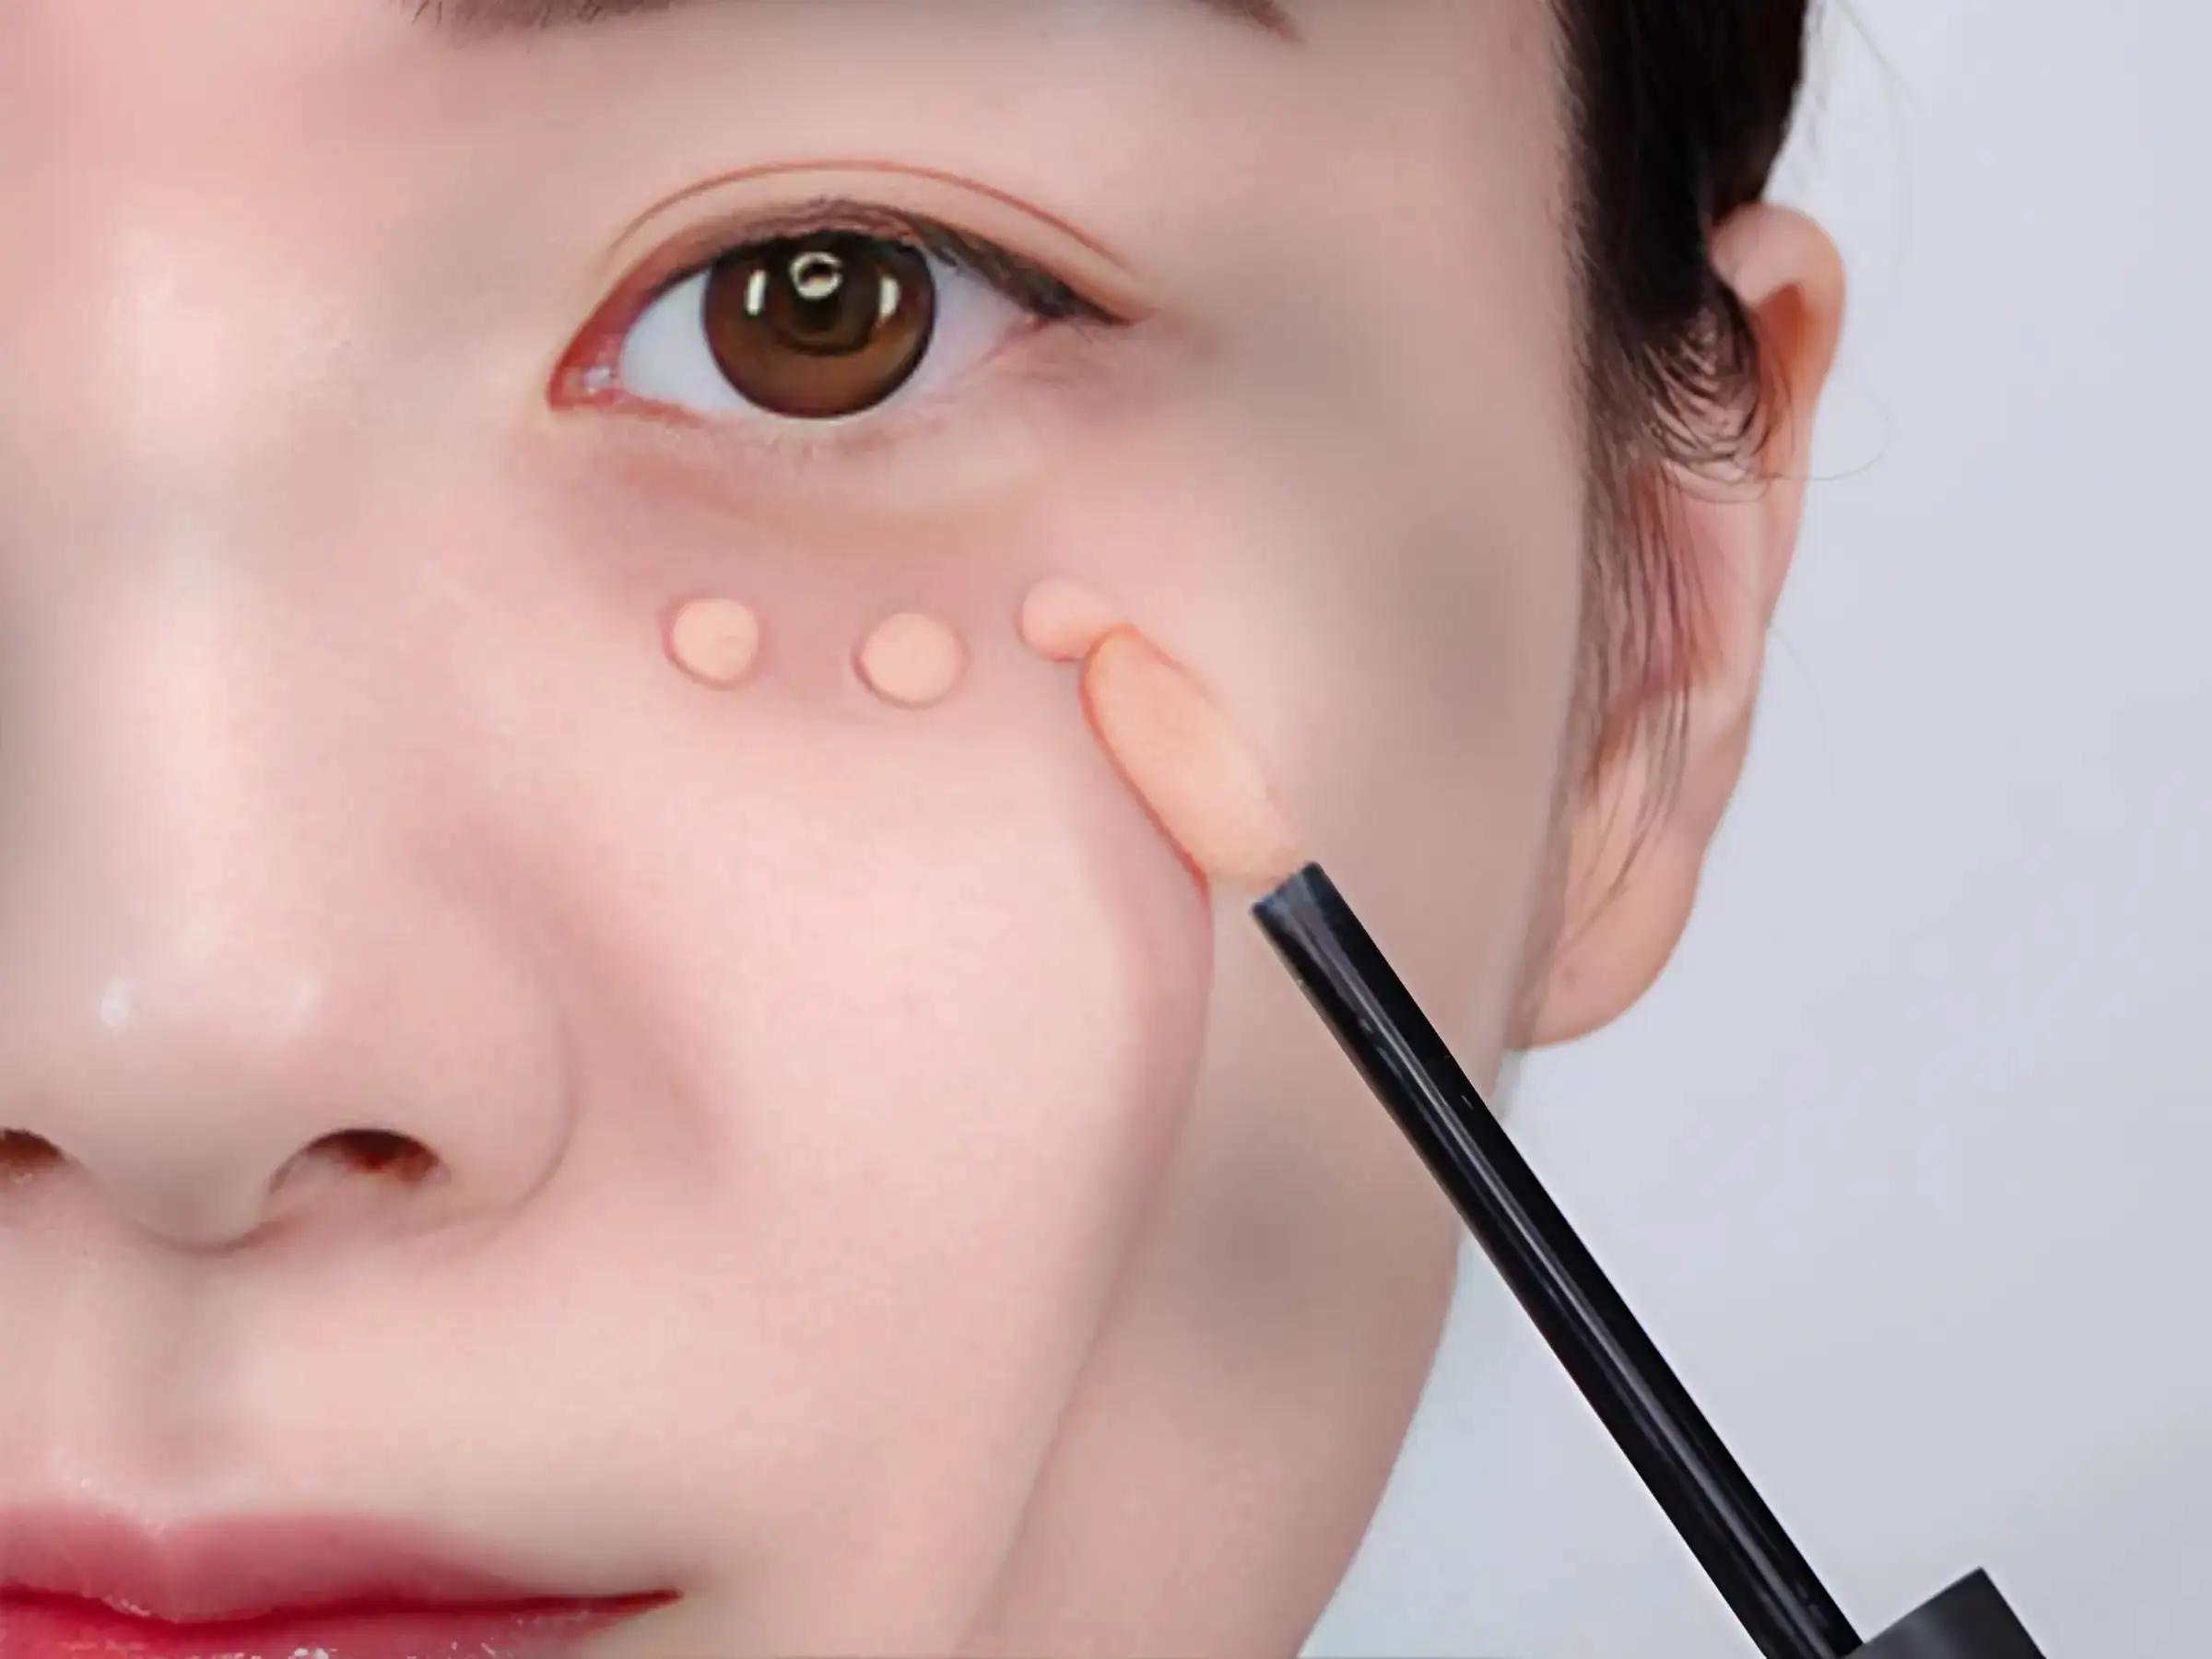
Erases Dark Circles, Acne - Concealer
Step 2: Powder
After concealing, I need a layer of powder to fix the cream layer, preventing it from moving. Especially for those with oily skin, powder also helps absorb excess oil, keeping the skin dry and smoother.
Making:
- Using a large brush or the included puff, pick up a moderate amount of powder.
- Gently tap the brush/puff against the side of the box or the back of your hand to remove excess powder.
- Gently dab on areas prone to oiliness such as the T-zone and areas where you have just used concealer.
Note: Just dab lightly, do not rub hard to avoid removing the concealer underneath.
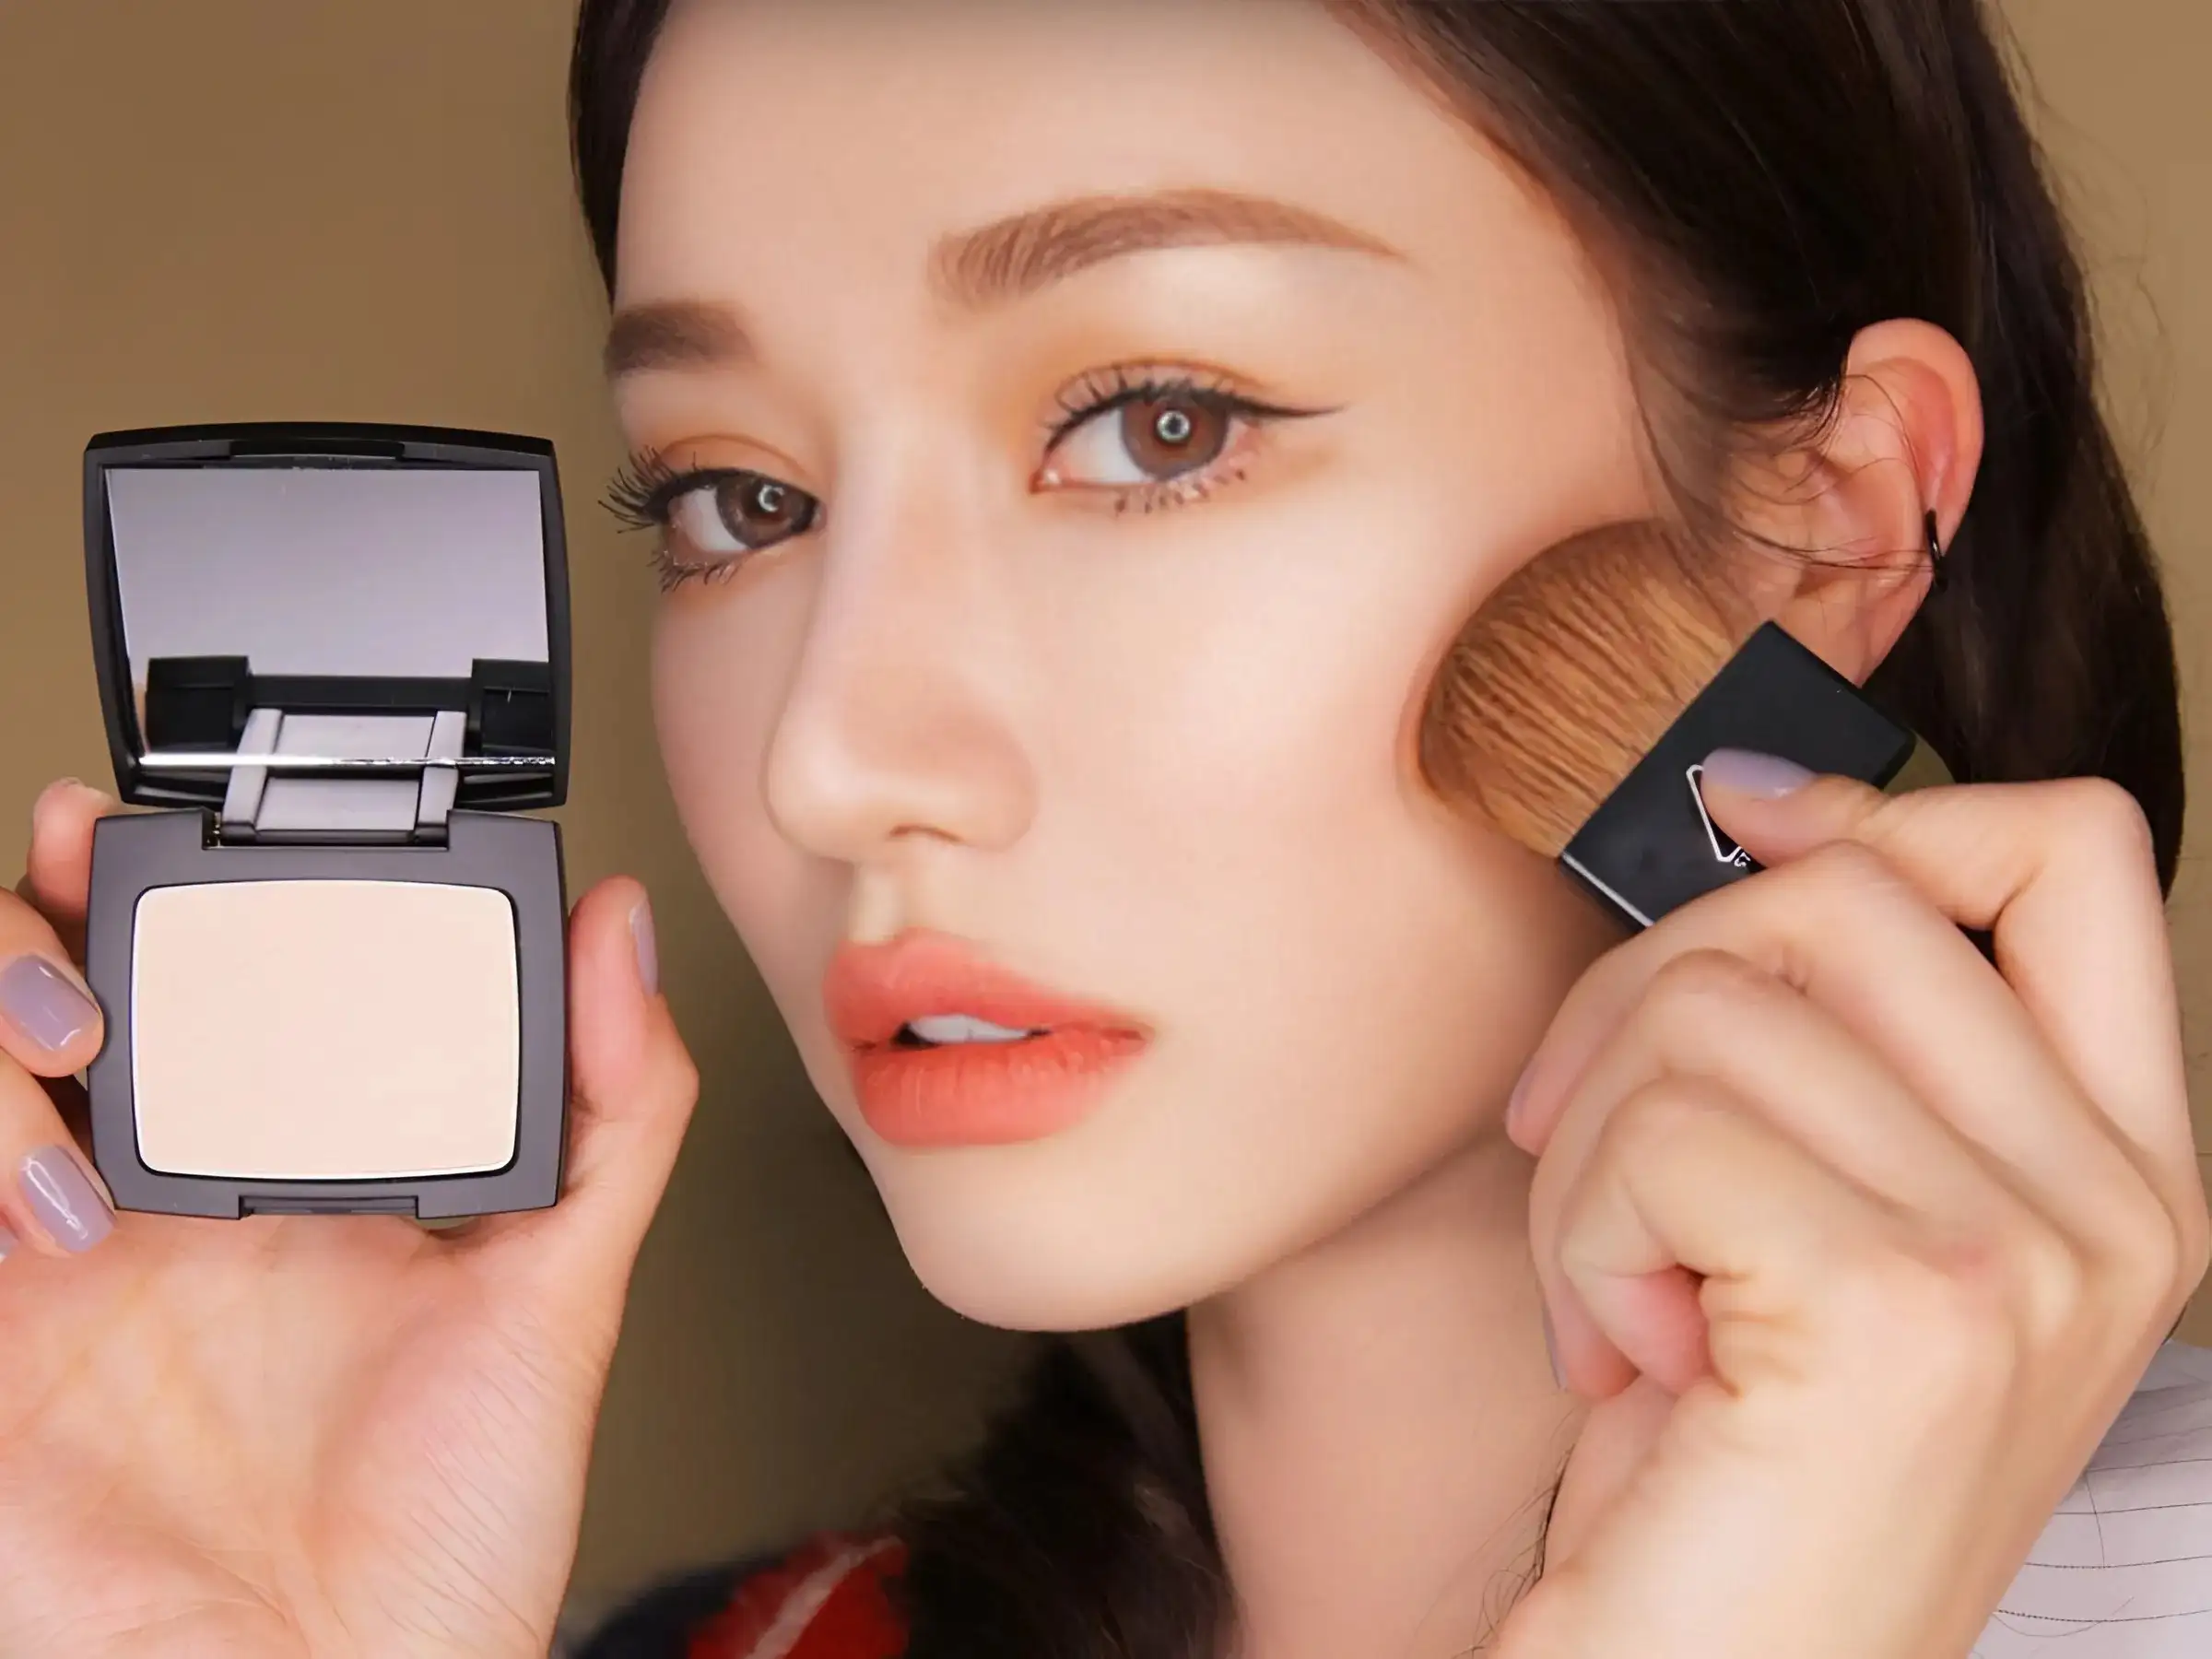
Foundation Lock, Oil Control - Powder
Step 3: Draw Eyebrows
A pair of neatly shaped eyebrows will help your face look more balanced and soulful! Don't be afraid that this eyebrow drawing step is difficult, I will show you the simplest way:
- Using an eyebrow pencil, draw short, thin strokes in the direction of natural eyebrow growth. Don't draw a solid line, it will look stiff and old. Focus on the tail of the eyebrow and the areas where the eyebrows are a bit sparse.
- Then, use the brush tip on the eyebrow pencil to gently brush to evenly spread the pencil color, helping the eyebrows look as natural as possible.
Tip: Choose an eyebrow pencil color that is similar to or about 1 shade darker than your natural hair color. Avoid colors that are too dark or too light compared to your hair. The most important mistake to avoid is drawing the outline too dark and sharp, it will make you look older!
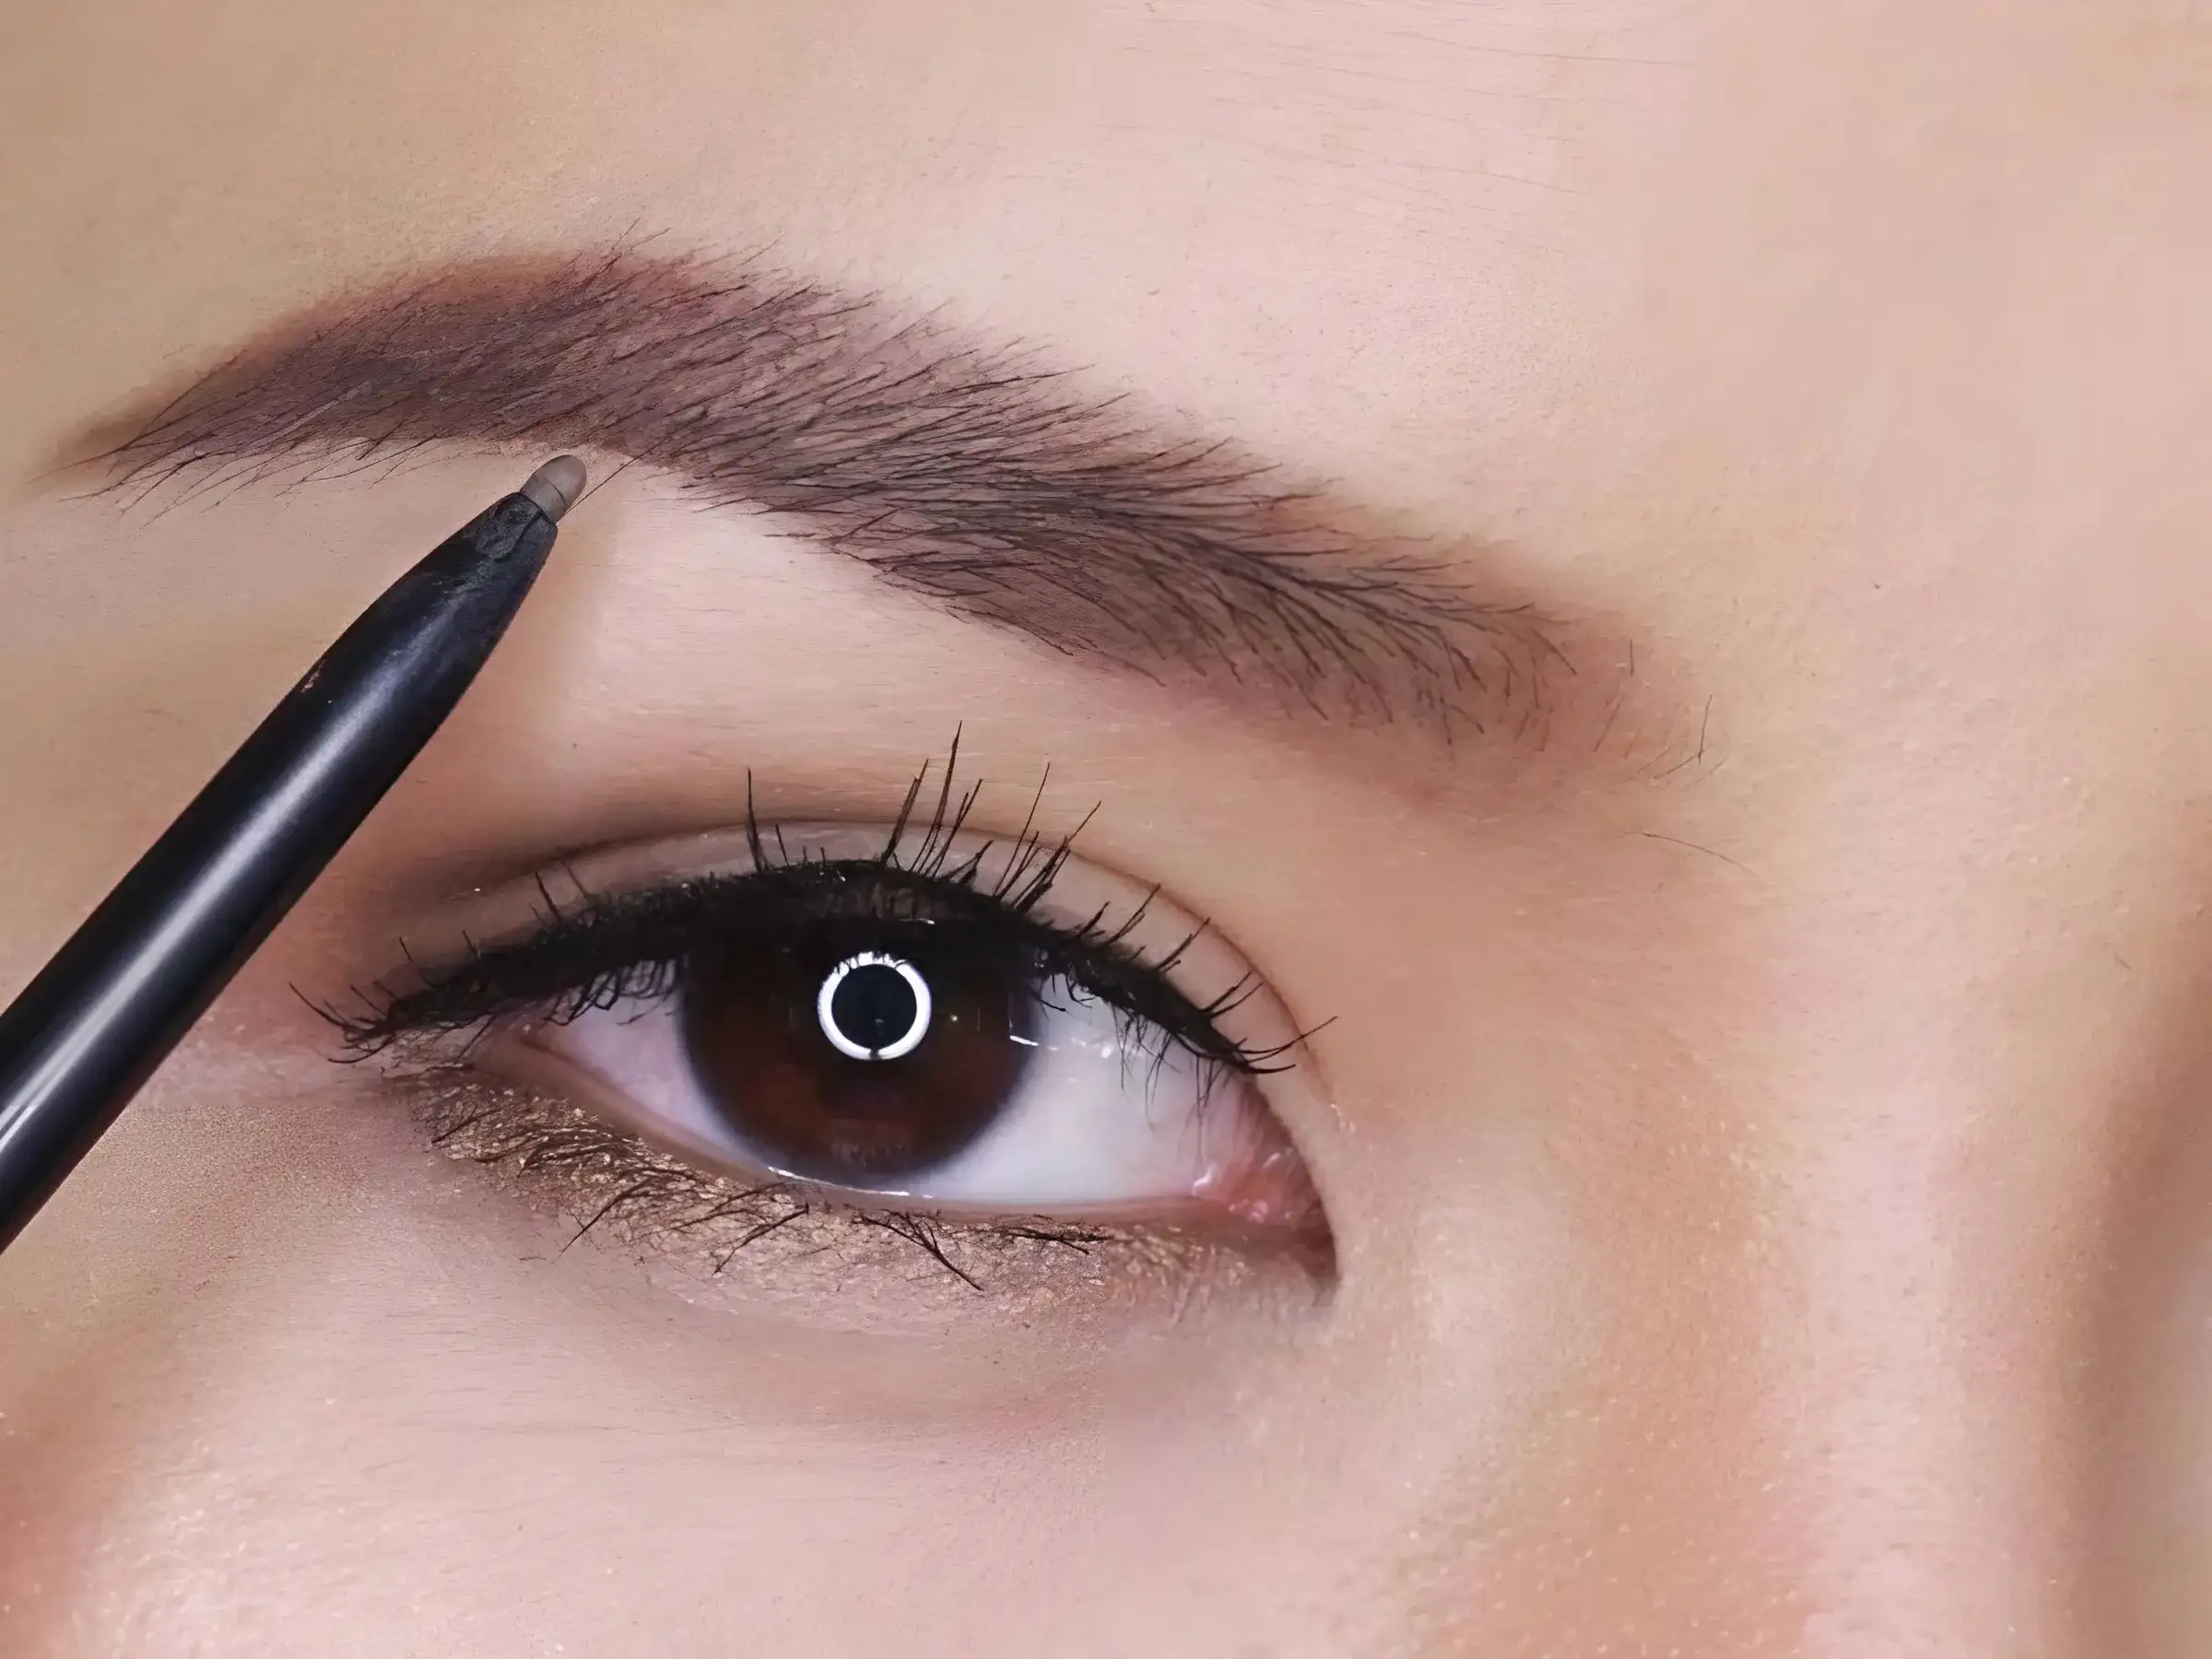
Face Shaping - Eyebrow Drawing
Step 4: Curl your lashes and apply mascara
This step will help your eyes look bigger, brighter and more vibrant. No need for elaborate eyeliner, just curl your eyelashes and apply mascara!
- Curl your eyelashes: Look down a bit, use an eyelash curler to gently clamp at 3 points: close to the base of the eyelashes, the middle of the eyelashes and the tips of the eyelashes. Hold each point for a few seconds to curl the eyelashes evenly. Don't clamp too hard.
- Apply mascara: Open your eyes wide, look straight in the mirror. Place the mascara brush close to the base of the eyelashes, and apply in a zigzag pattern from base to tip. Do the same for the lower lashes if you want your eyes to look bigger.
Small tip: Before applying, gently push the mascara brush tip into the mouth of the bottle to remove excess product. This helps the mascara not clump on the eyelashes, making it look more natural and beautiful. For beginners, I recommend skipping the eyeliner step to make the process simpler and faster.
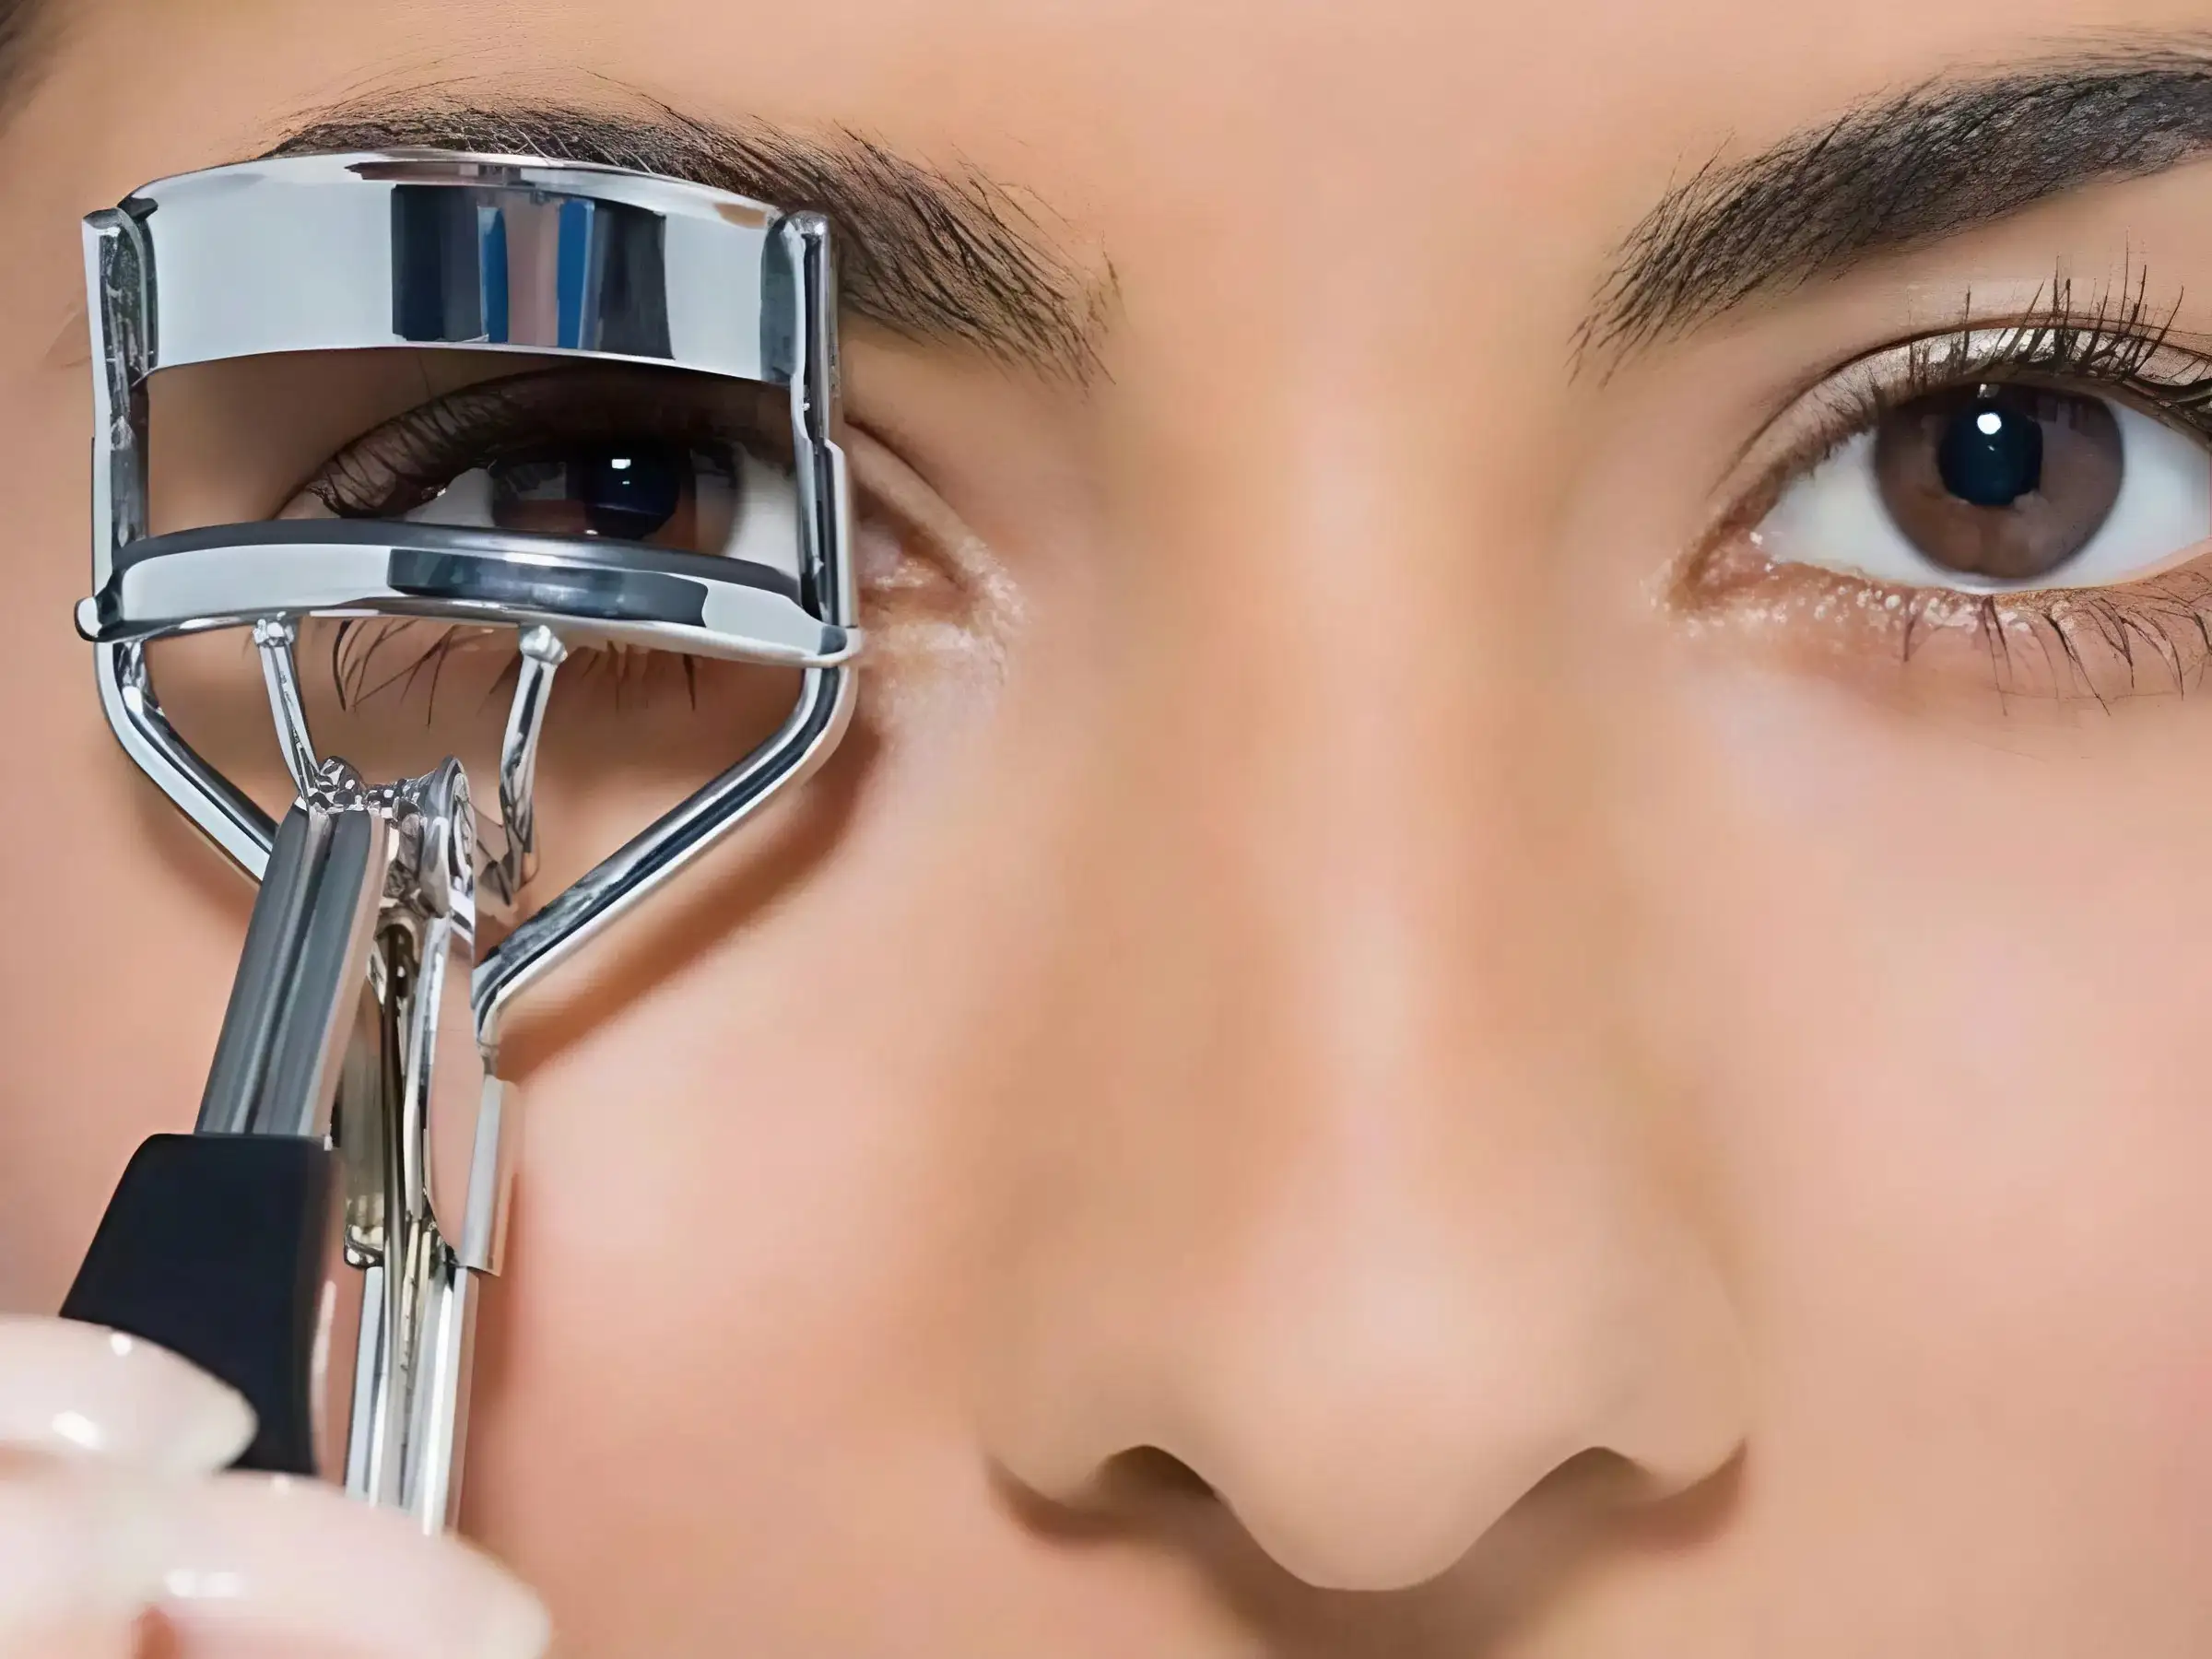
Open the Windows of the Soul - Eyelash Curler and Mascara
Step 5: Blush
A little blush will help your face look fresh, radiant and more vibrant, as if you just had a good night's sleep! Super easy way to apply blush for beginners:
- Smile slightly in front of the mirror to determine the cheekbones.
- Using a blush brush or your fingers, take a REALLY LITTLE amount of product.
- Lightly blend it onto the cheek that is highest when you smile, then blend it gently towards the temples.
Small tip: The golden rule when applying blush is Less is more - Better light than dark! Start with a very small amount, if you feel it is not enough, you can add more slowly. Remember to blend it evenly so that your cheeks are naturally rosy, avoiding streaks. For beginners, cream blush is often easier to blend and looks more natural than powder blush.
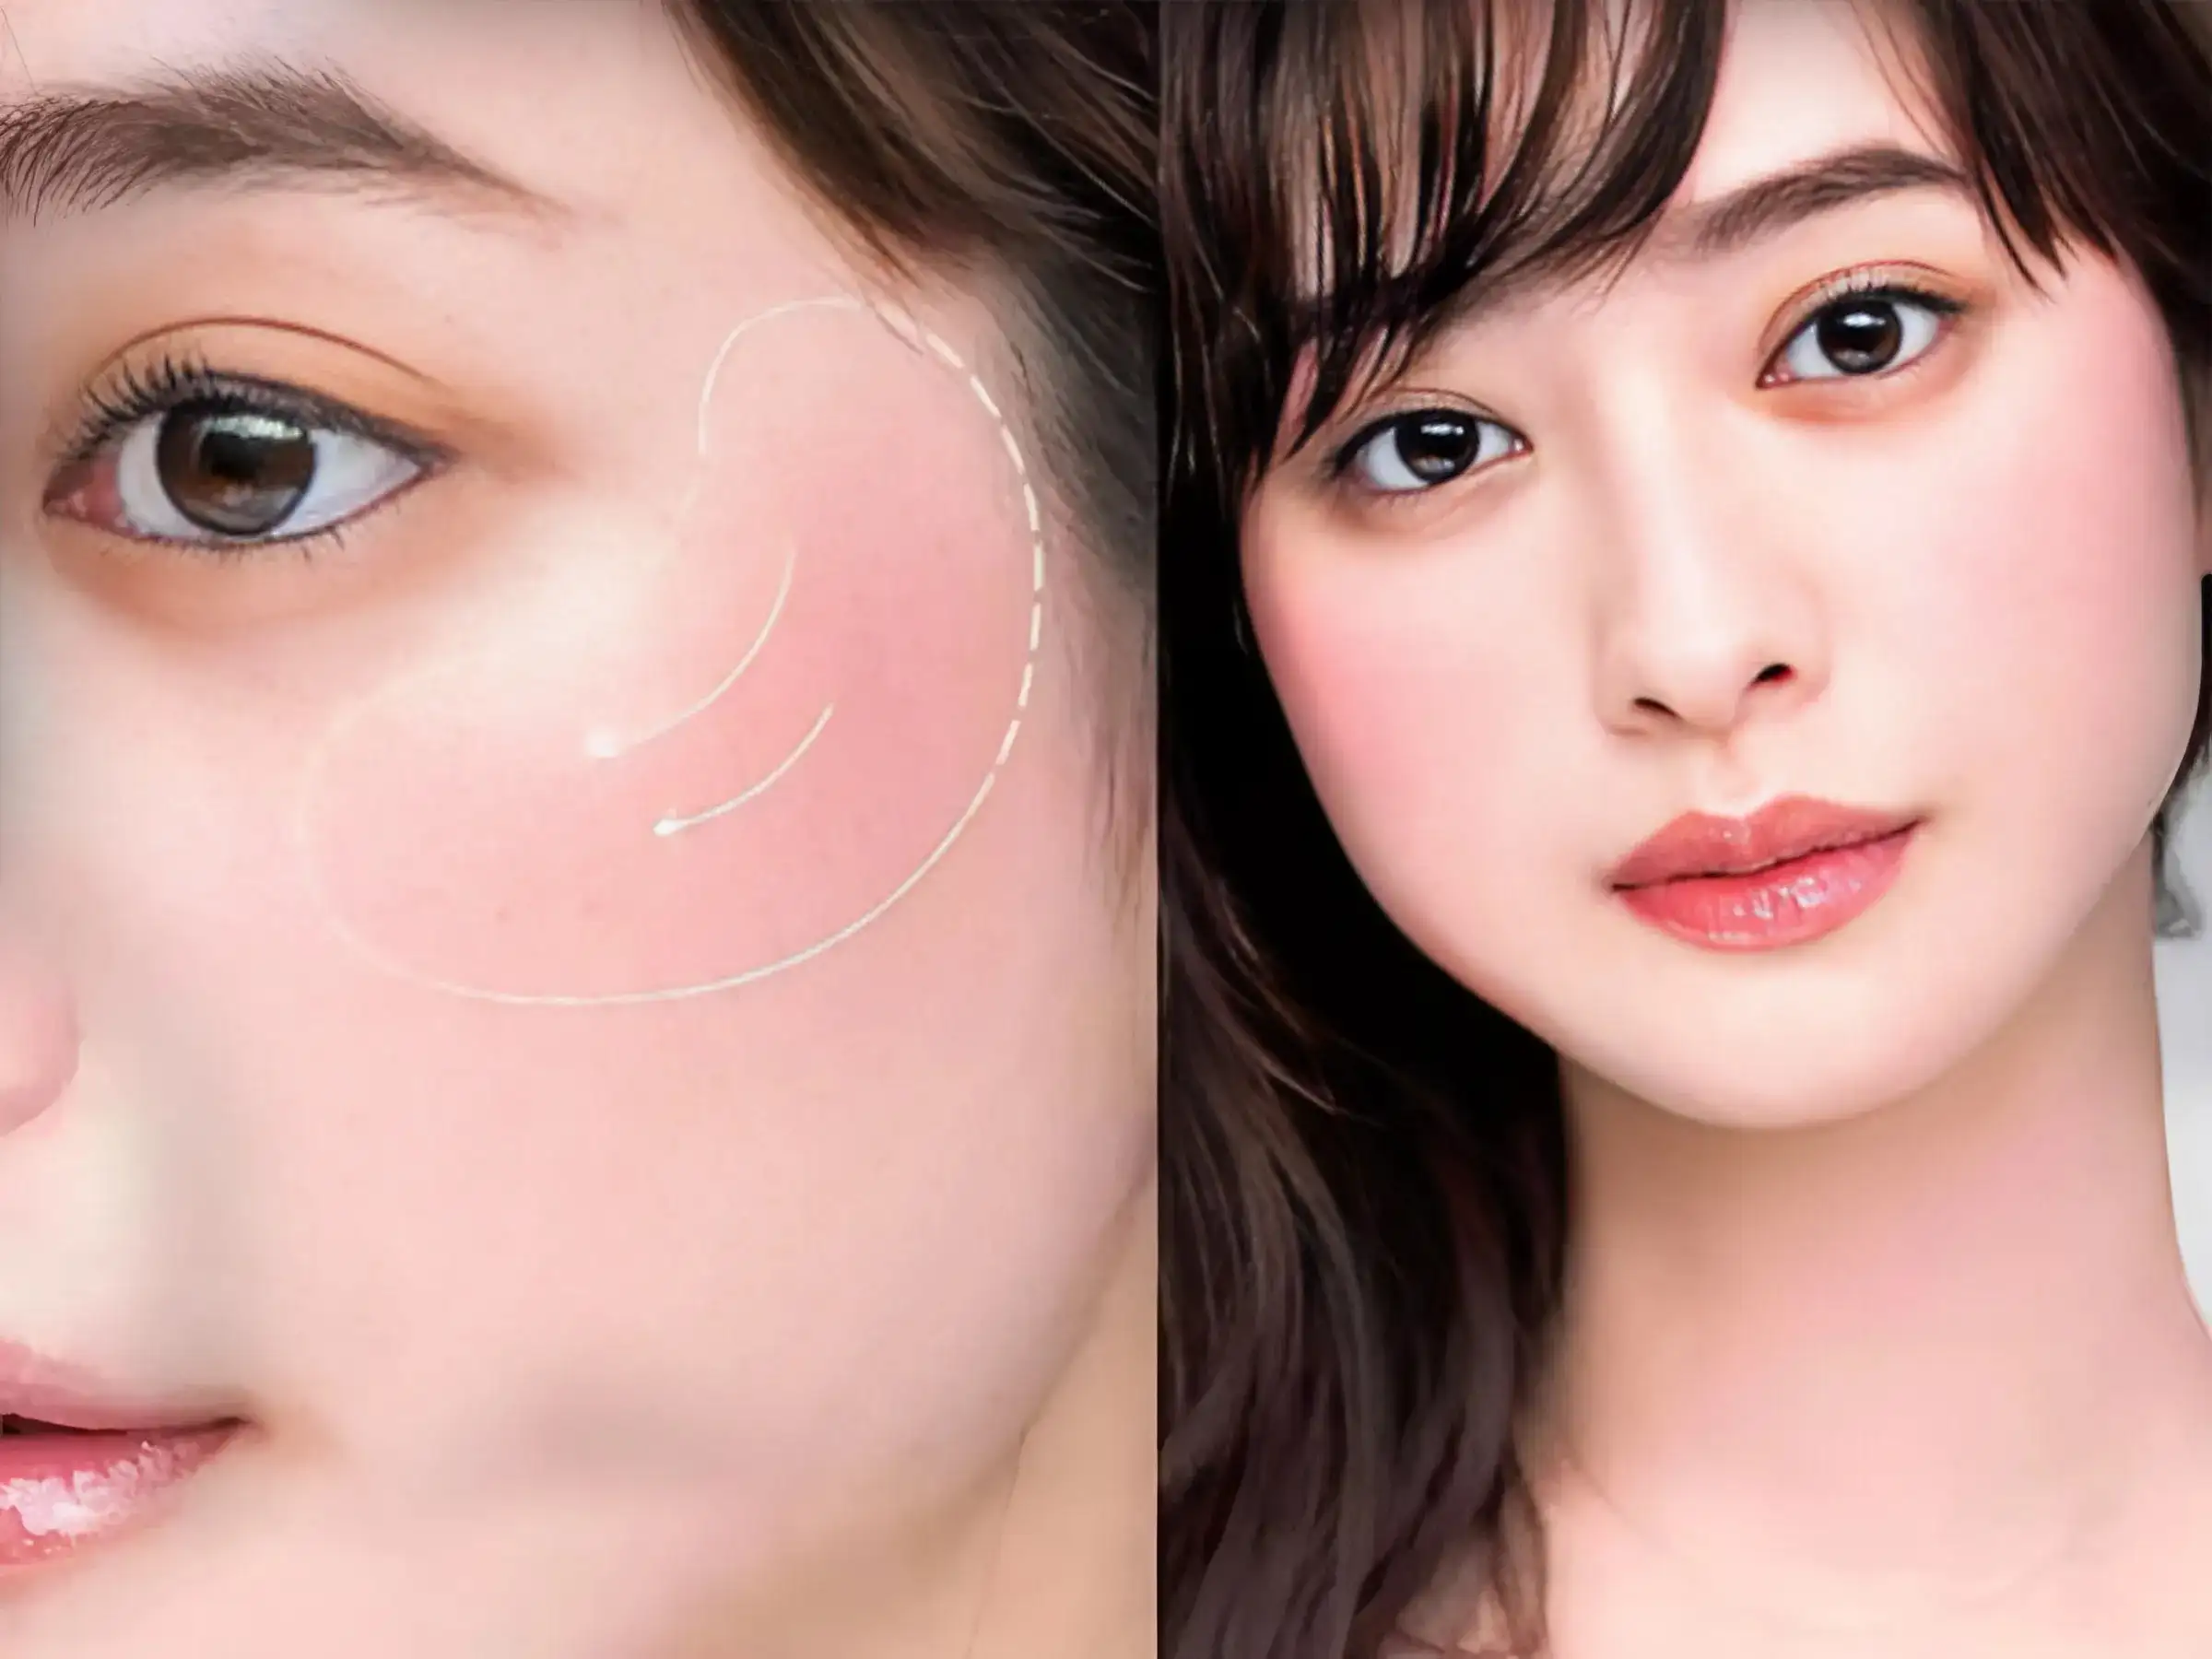
Add a Little Rosy, Fresh Look - Blush
Step 6: Lipstick
This is the step to complete the face, create an instant highlight and help you look fresher in the blink of an eye. A little lipstick is enough to brighten up the whole face!
- Lip care: If your lips are a bit dry, apply a thin layer of lip balm first.
- Apply lipstick: You can apply lipstick to the inside of your lips and then press your lips lightly to spread the lipstick naturally, or apply it evenly on your lips if you want the color to be more obvious.
- Suggested MLBB lipstick colors that are super easy to use for newbies: earthy pink, earthy orange, earthy red. These are natural tones, close to your real lip color but brighter, suitable for all skin tones and situations.
Small tip: To make the lip line look softer and more natural, after applying lipstick, you can use your little finger or a clean cotton swab to lightly blend the lip line.
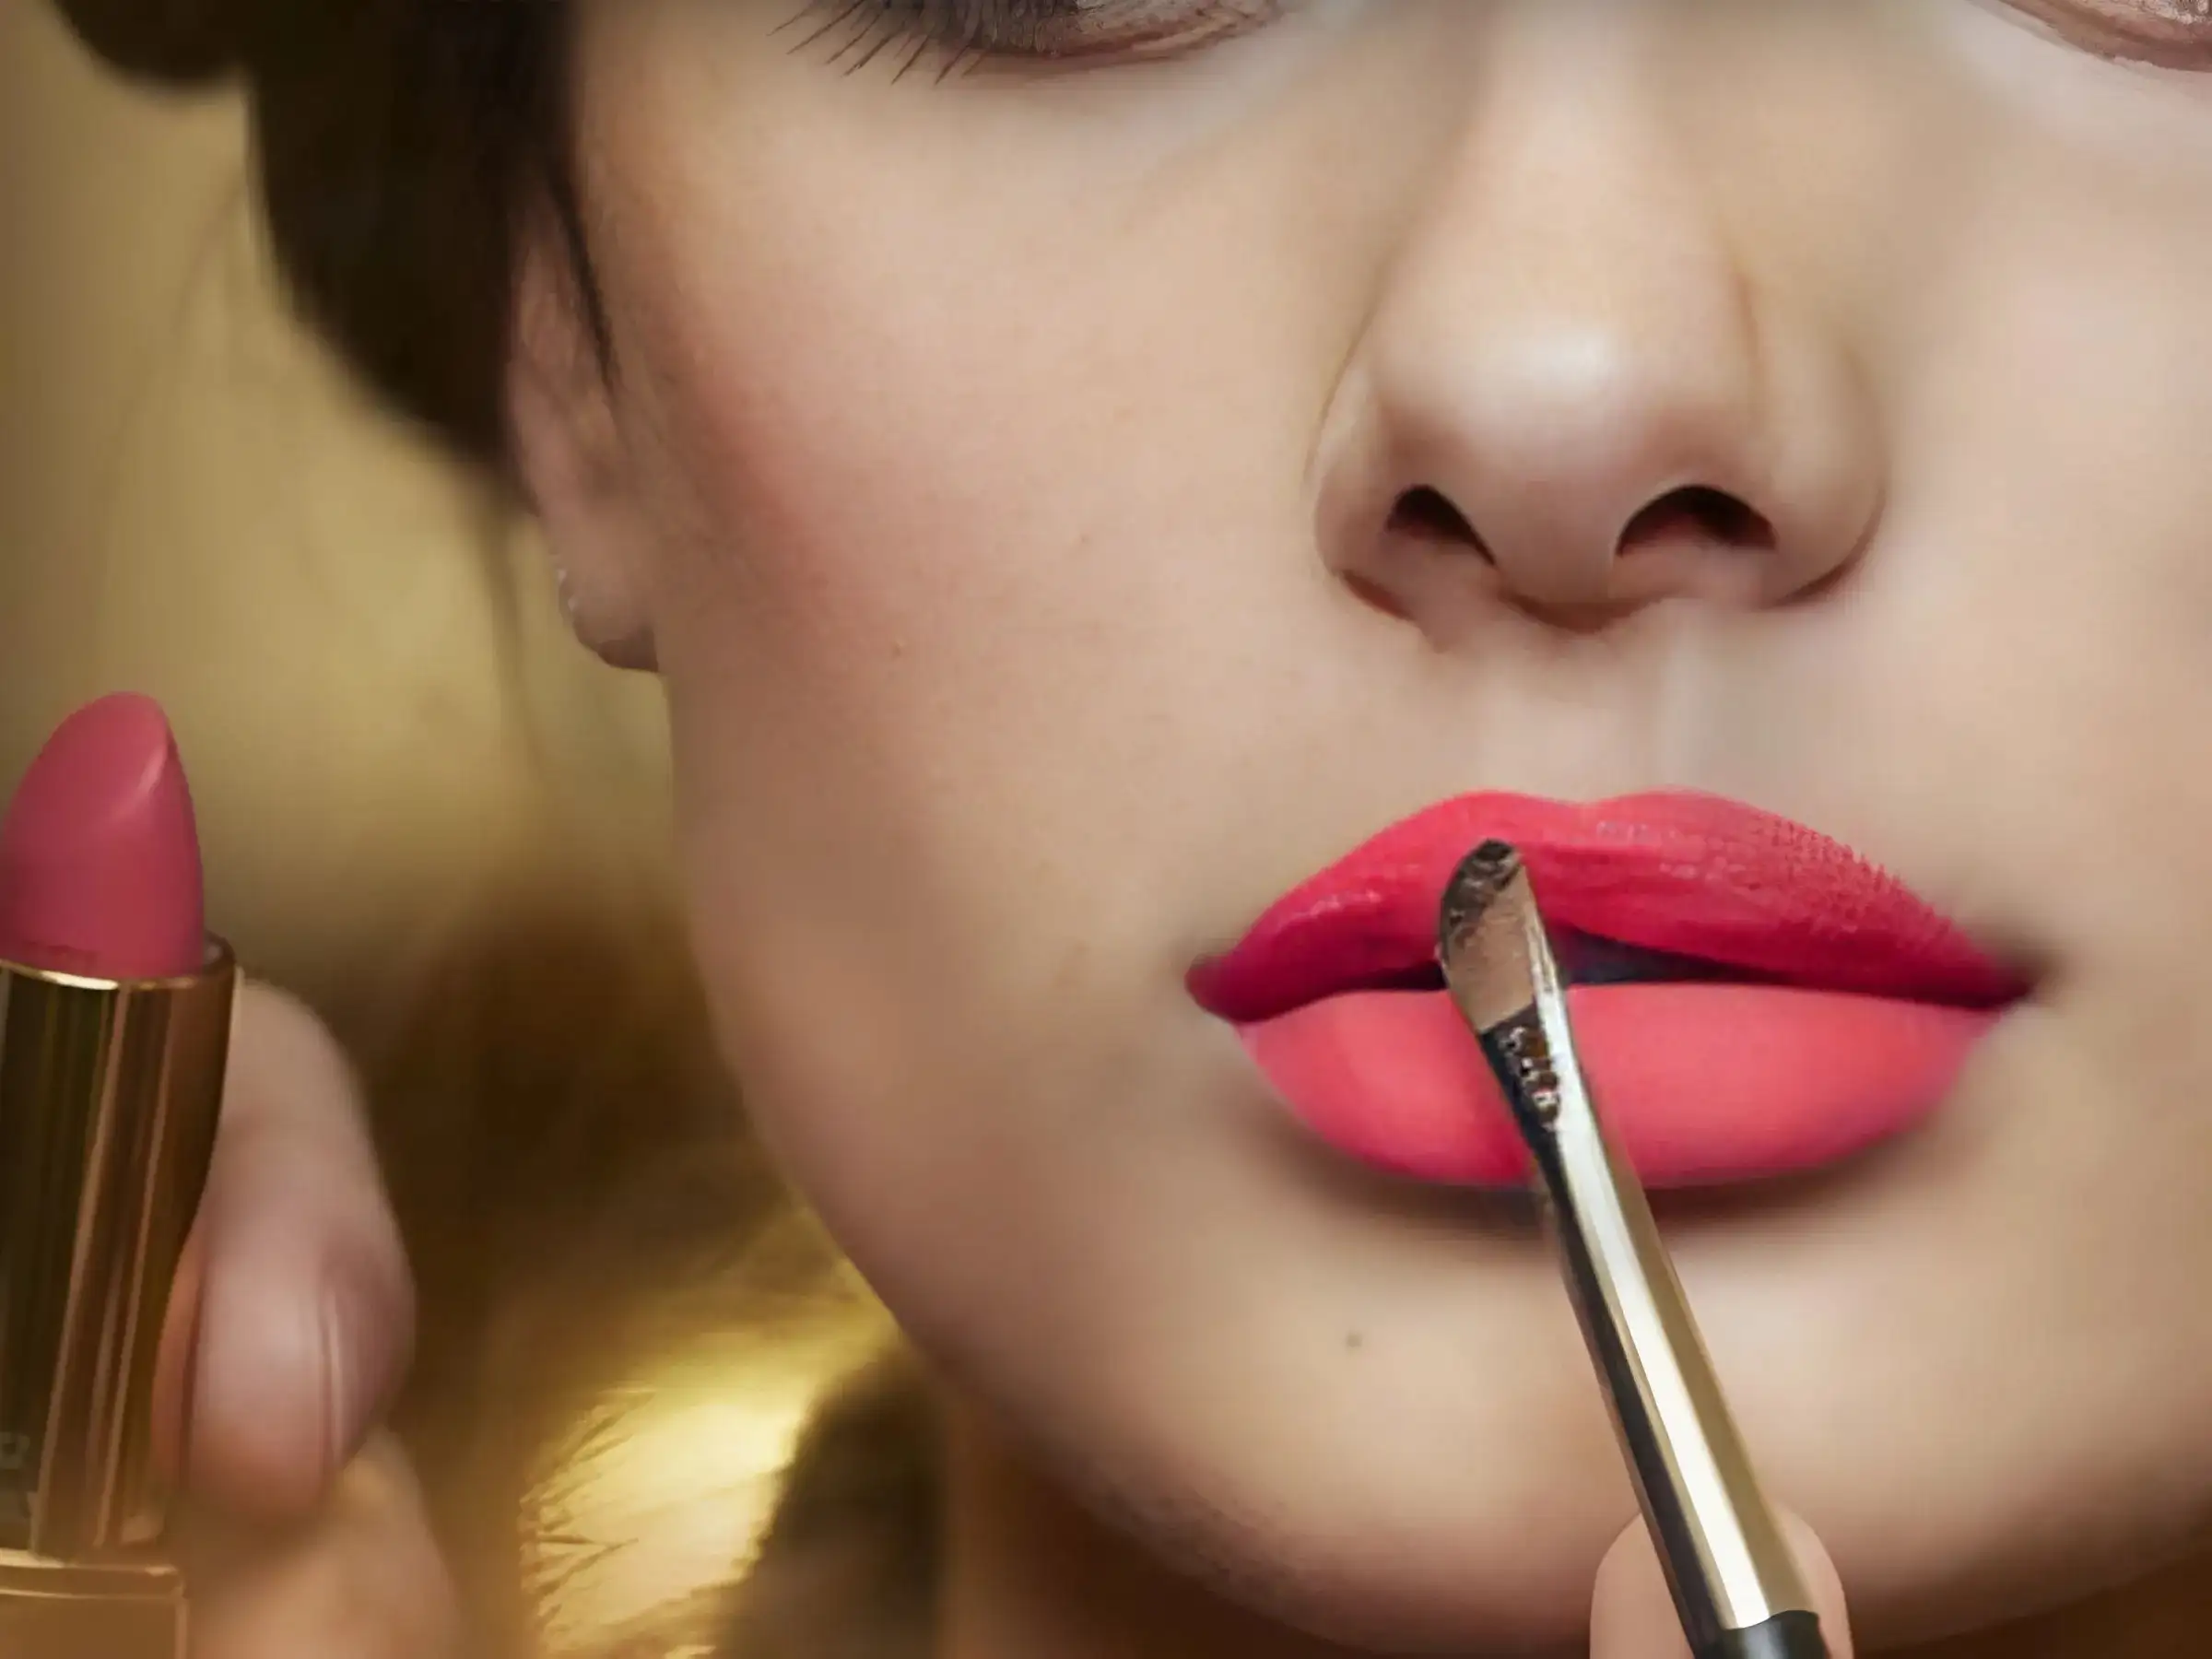
The Final Touch - Lipstick
Step 7: Mineral Spray/Foundation Locker
This step is not required for light everyday makeup, but if you want your makeup to last longer, especially on hot days or when you need to be outdoors for a long time, you can use a mineral spray or foundation setting spray. It also helps the makeup blend together and look more natural.
Use:
- Close your eyes.
- Hold the spray bottle about 20-30cm away from your face.
- Gently spray 2-3 times in an X or T shape all over your face.
- Let it dry naturally.
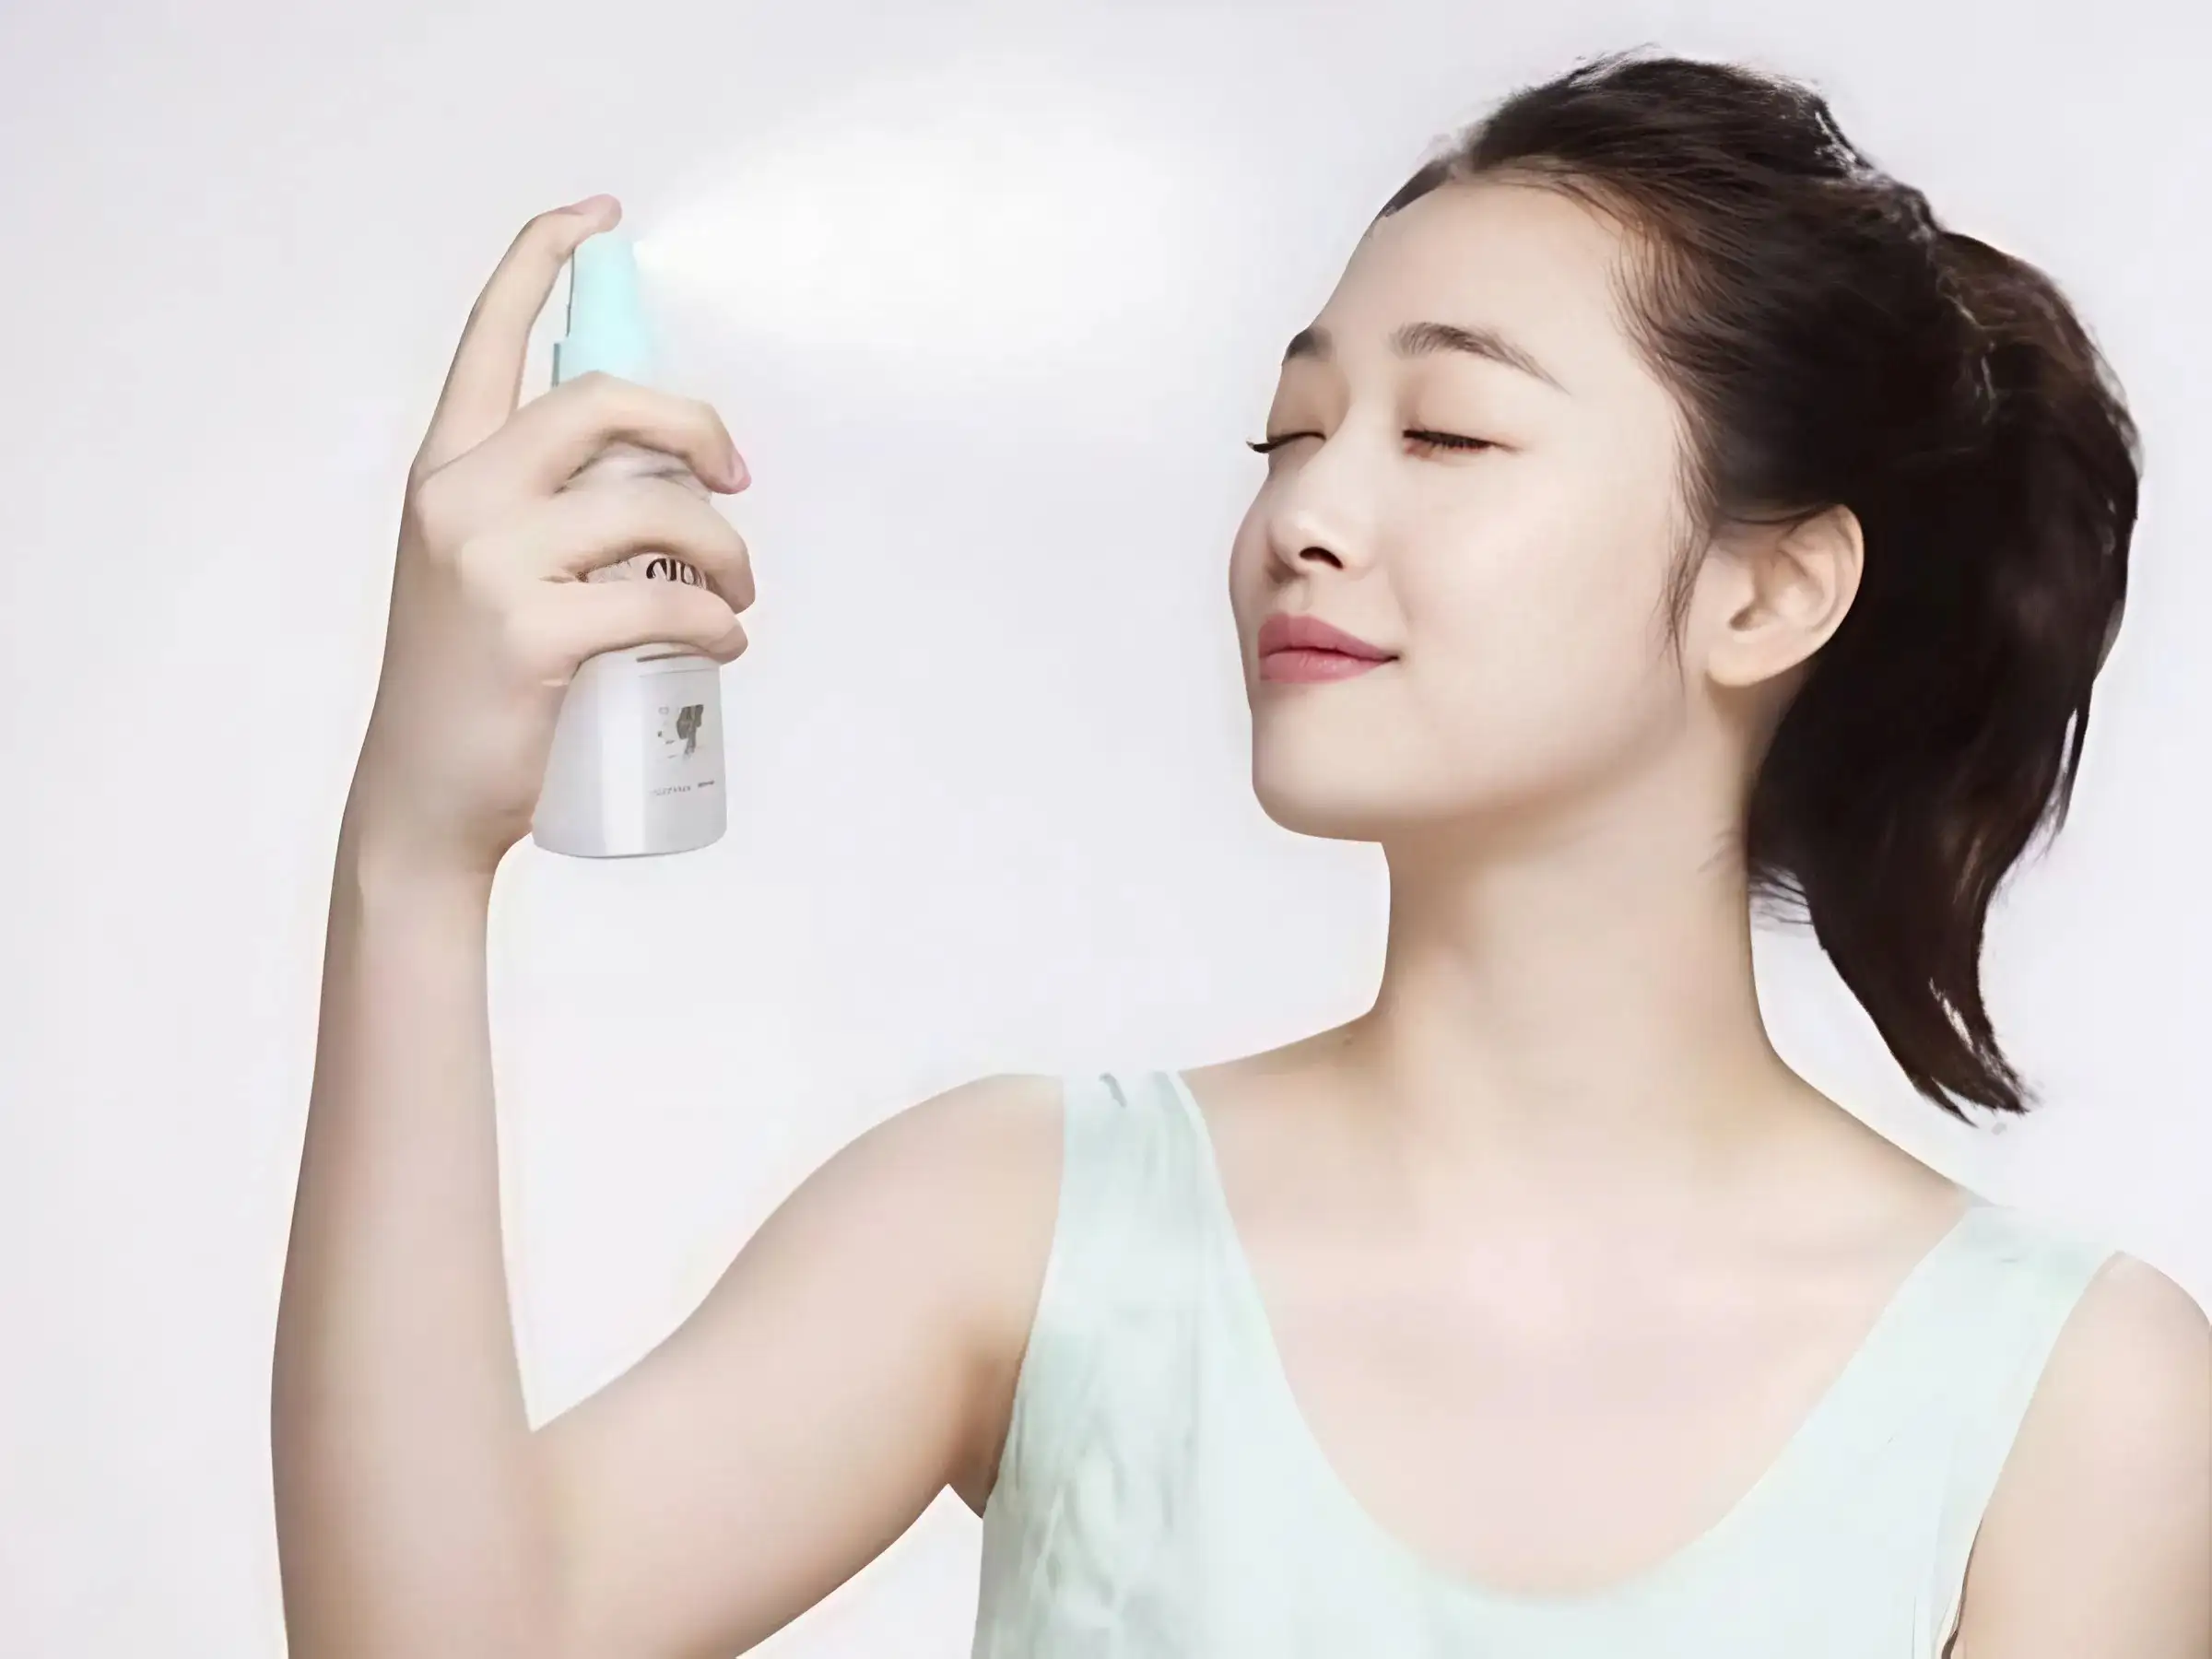
Long-lasting Makeup - Setting Spray/Foundation Locker
Professional Makeup Tips for Beginners
To improve your makeup skills and get a more perfect foundation from the first time, remember the following tips from the experts:
- Always use sunscreen: Whether you wear makeup or not, this is the most important step to protect your skin.
- Use a damp makeup sponge: Helps to spread concealer and blush evenly and more closely to the skin.
- Less is more principle: Always take a little product at a time, it is better to not have enough than too much and have to fix it. Apply to all steps from concealer, powder, blush...
- Sufficient lighting: Applying makeup in a place with enough natural light or good white light will help you see the color clearly and spread the product more evenly.
Must remove makeup at the end of the day: This is an extremely important step to keep your skin clean and healthy. Never go to bed with makeup on your face! You need to remove makeup properly and thoroughly.
Some Common Mistakes When Applying Makeup
Besides learning the right techniques, recognizing and avoiding common mistakes is also an important factor in helping you apply makeup more beautifully.
- Skipping skincare/sunscreen: The result is that the foundation is prone to flaking, not smooth and the skin is not protected.
- Choosing the wrong concealer shade: Using a concealer with an inappropriate shade (too light or too dark) compared to the actual skin tone will lead to a lack of color harmony on the overall face.
- Applying too much powder: Makes the face pale, heavy and reveals wrinkles. Remember to tap the brush/puff lightly before applying it to the face.
- Drawing eyebrows that are too dark, too sharp or wrong shape: Shaping eyebrows with lines that are too sharp, colors that are too dark or a style that does not match the structure of the face can make your overall face look stiff and older than your actual age.
- Clumpy mascara: Using too much mascara solution or applying it unevenly can lead to clumping, causing the lashes to stick together, affecting the fluffiness and natural look of the lashes.
- Overdoing it or placing it in the wrong place: Applying blush too heavily or in the wrong place on the apples of your cheeks can create a subtle color effect that doesn't give a natural, healthy flush and can sometimes even be aesthetically counterproductive.
Conclude:
So you have mastered 7 basic makeup steps for beginners from skin preparation, concealer, powder, eyebrow pencil, mascara, blush to lipstick. This process is not complicated and can be done easily every day.
Makeup is a skill that needs to be practiced, so don't worry if you are clumsy at first, just be patient and love yourself, you will become more and more confident and radiant. If you find the article useful, don't forget to follow Coolmate's CeliBlog to discover more beauty tips, positive lifestyles and self-care secrets just for you!


Written by Celi Dior
Leave a comment
This site is protected by hCaptcha and the hCaptcha Privacy Policy and Terms of Service apply.