


3 Simple Halloween Mummy Drawings for Kids and Beginners
3 easy Halloween mummy drawing tutorials for kids and beginners. There are cute chibi, classic cartoon and horror versions.
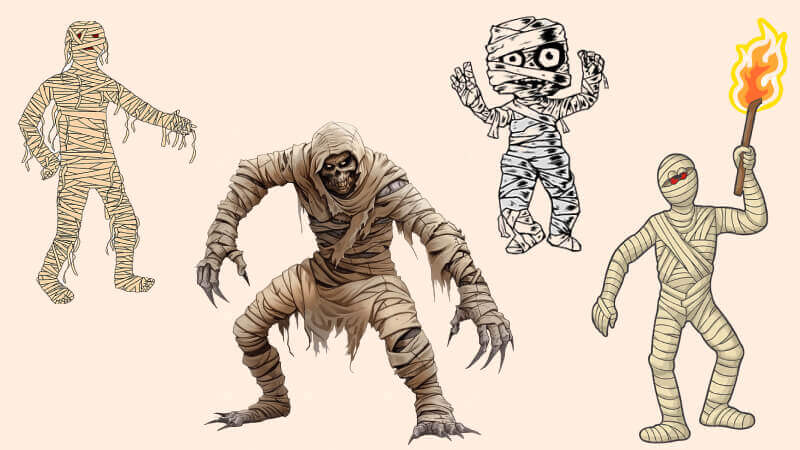
Halloween is not only an occasion to dress up as a ghost, but also an opportunity to unleash your creativity with drawings. One of the “classic” themes associated with this holiday is drawing Halloween mummies. In this article, we will explore 3 extremely simple ways to draw mummies, suitable for both children and beginners.
1. Prepare necessary tools
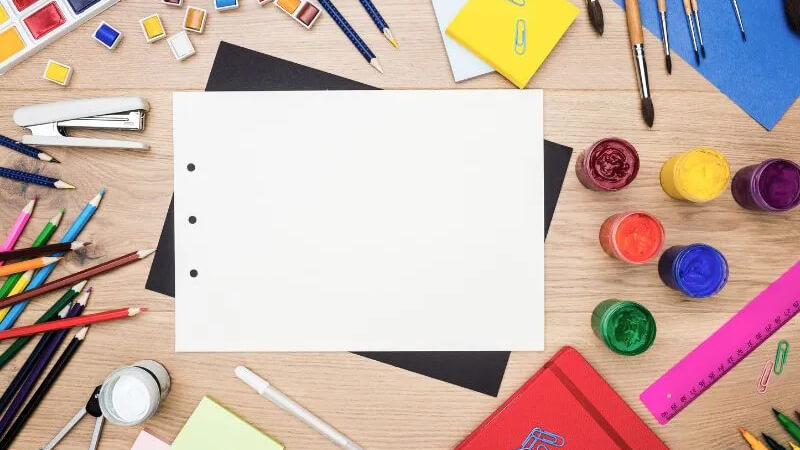
Prepare the necessary tools to draw a Halloween mummy
For the mummy drawing process to go smoothly, you need to fully prepare the following tools:
- Drawing paper: A4 paper or any white paper of moderate thickness.
Pen:
- HB or 2B pencil to sketch the frame (easy to erase).
- Black marker or black ink pen to draw lines (line art) after finishing the sketch.
- Color: Crayon, colored marker, or watercolor (depending on preference and desired effect).
- Eraser: To erase the extra sketch lines cleanly.
2. Step by Step Mummy Drawing Tutorial for Beginners
You can choose one of the three mummy drawing styles below, depending on the subject and purpose of use.
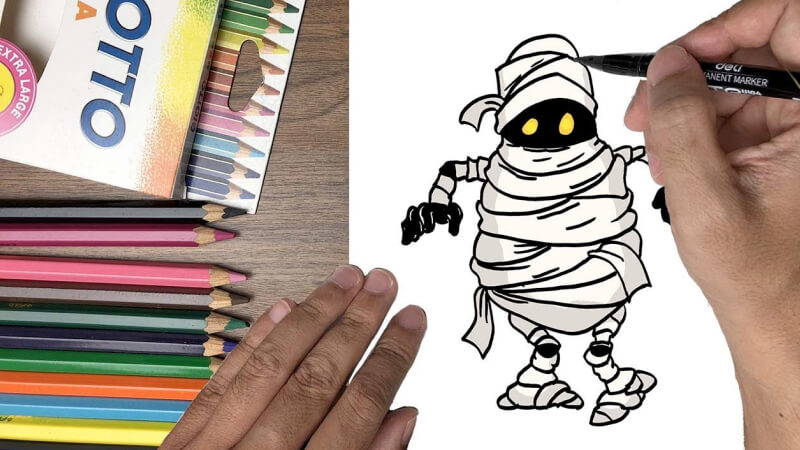
Method 1: Draw a super cute Chibi mummy (suitable for kids)
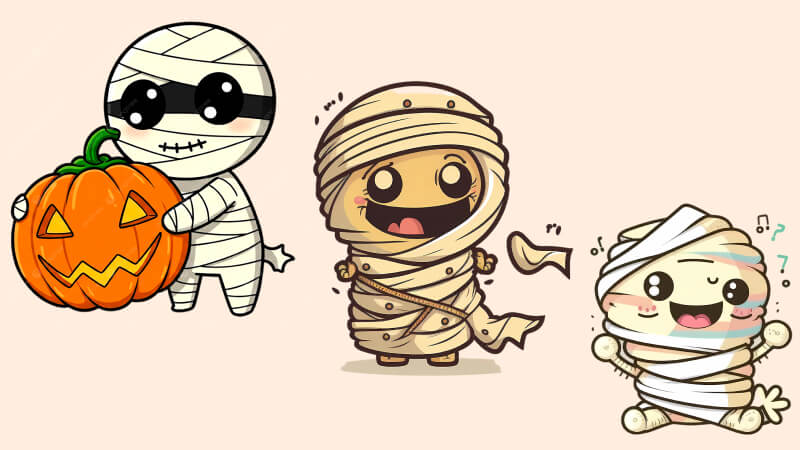
How to draw super cute chibi mummy
This style focuses on simple shapes and a lovely large head, small body ratio.
- Step 1 - Draw the head: Draw a slightly uneven circle for the head.
- Step 2 - Draw the eyes: Inside the circle, draw two smaller circles for the eyes. Shade these circles black but leave a small white spot for sparkle.
- Step 3 - Draw the body: Draw a slightly plump, upright rectangle below the head.
- Step 4 - Draw the arms and legs: Draw two short arms on either side of the body and two small feet below.
- Step 5 - Wrap the bandages: This is the most important step. Draw random, overlapping curves all over the mummy, leaving the eyes. Don't draw them too straight, leave them a little curved and sloppy. Add a few small, flying bandage tips to add life.
Method 2: Draw a classic cartoon mummy
How to draw a classic cartoon mummy
This style creates a mummy that is more humanoid in shape, with just the right amount of creepiness, like in classic animated films.
- Step 1 - Sketch the figure: Use a pencil to draw a simple stick figure with a slightly wobbly gait, one arm raised straight forward to increase the spookiness.
- Step 2 - "Build" the body: Based on the stick skeleton, draw rectangular and oval blocks to create a torso, arms and legs with proportions close to a real person.
- Step 3 - Draw the bandages: Start drawing the bandages wrapped around the body. This time, draw the bandages of different thicknesses, with inner and outer layers to create depth and volume. Draw folds and wrinkles on the bandages.
- Step 4 - Finishing the details: In the gaps between the bandages, draw a few dark lines to create shadows. Draw red or yellow eyes looking out from inside the bandages.
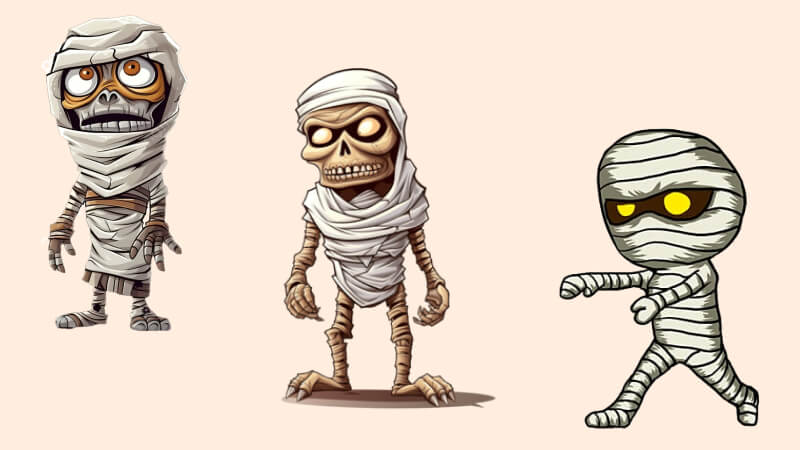
Method 3: Draw a scary mummy
How to draw a classic cartoon mummy
This version is for those who want to create an impressive, horror-themed Halloween creation.
- Step 1 - Creepy Stance: Sketch a figure with an unsteady gait, slightly bent joints, and an unusually bowed or tilted head.
- Step 2 - Tattered Bandages: Draw the bandages torn, frayed, and falling apart in places, revealing some bone or withered skin (with cracks) inside. Focus on exposed details at the knees, elbows, and ribs.
- Step 3 - Haunting Eyes: Instead of round eyes, draw a deep, dark eye socket with a red or yellow glow inside to create the feeling of a mummy that has long been resurrected.
- Step 4 - Add Horror Details: Draw a few small spiders, scorpions, or some mossy green stains crawling on the bandages to add a creepy and old look.
3. Tips for coloring and decorating
Coloring and decorating tips when drawing a Halloween mummy
Once you have completed the drawing, the coloring and decorating will determine the success of your Halloween mummy painting.
- Color: Use off-white, tan, or light gray tones for the ribbons to create an old, thousand-year-old feel. Use black or dark brown to shade the gaps between the ribbons, creating depth and volume.
- Background: To add a spooky touch to your painting, paint a dark cemetery, an ancient pyramid under the moonlight, or a full moon with bats flying around in the background.
- Application: Once you're done, you can cut out the mummy and use it as a door decoration, stick it on your window, or make a unique Halloween invitation.
4. FAQs - Frequently Asked Questions
How to draw natural looking ribbons?
The trick is to draw irregular, slightly curved lines. The strips should overlap and create folds. Use a pencil to lightly shade in the edges and gaps between the layers to give the mummy depth and age.
Can I use the app to practice drawing?
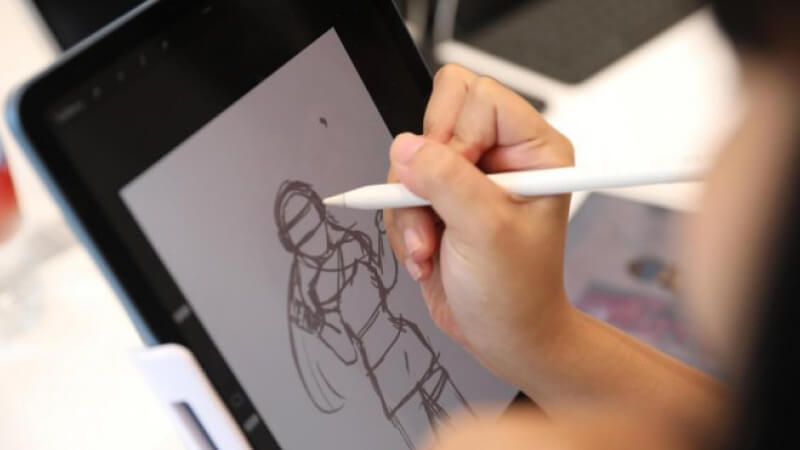
Can I use the app to practice drawing?
Absolutely. Digital drawing apps like Procreate (on iPad), Sketchbook, or Krita are great for sketching, painting, and experimenting without wasting paper.
Besides drawing, how else can a mummy be created?
You can use toilet paper, glue and newspaper to create a 3D mummy model or use collage techniques. Or more simply, use a band-aid (medical bandage) to stick on a simple human mannequin.
With just a few basic steps and a little creativity, you can draw your own Halloween mummy in many different styles: cute, classic or horror. This is not only an activity to practice dexterity but also brings a lot of fun. Pick up a pen and try today to have impressive pictures for a spooky Halloween night!


Written by Celi Dior
Leave a comment
This site is protected by hCaptcha and the hCaptcha Privacy Policy and Terms of Service apply.